The safest way to learn is to master breath control and floating at the wall before you ever try a full length, because a swimmer who can exhale calmly and stand up from a float has the two skills that prevent panic. Every drill below builds on those two foundations, working from shallow-water bubble blowing through to gentle stroke practice.
New swimmers rarely struggle because they lack fitness. They struggle because they hold their breath, lift the head too early, and let the hips drop. Isolating one skill at a time fixes each of those habits without overloading you.
Work through this progression in water you can stand up in, and treat every rep as short and repeatable. Four to six attempts, then rest. Fifteen focused minutes beats an hour of tired flailing that grooves bad habits into your stroke.
If you want more structured practice once these basics feel steady, the wider library of swimming drills on this site takes you through the next stage, and you can pair them with the ultimate swimming workout routine for beginners when you’re ready to build sessions around them.
1) Wall-Supported Bubble Blowing
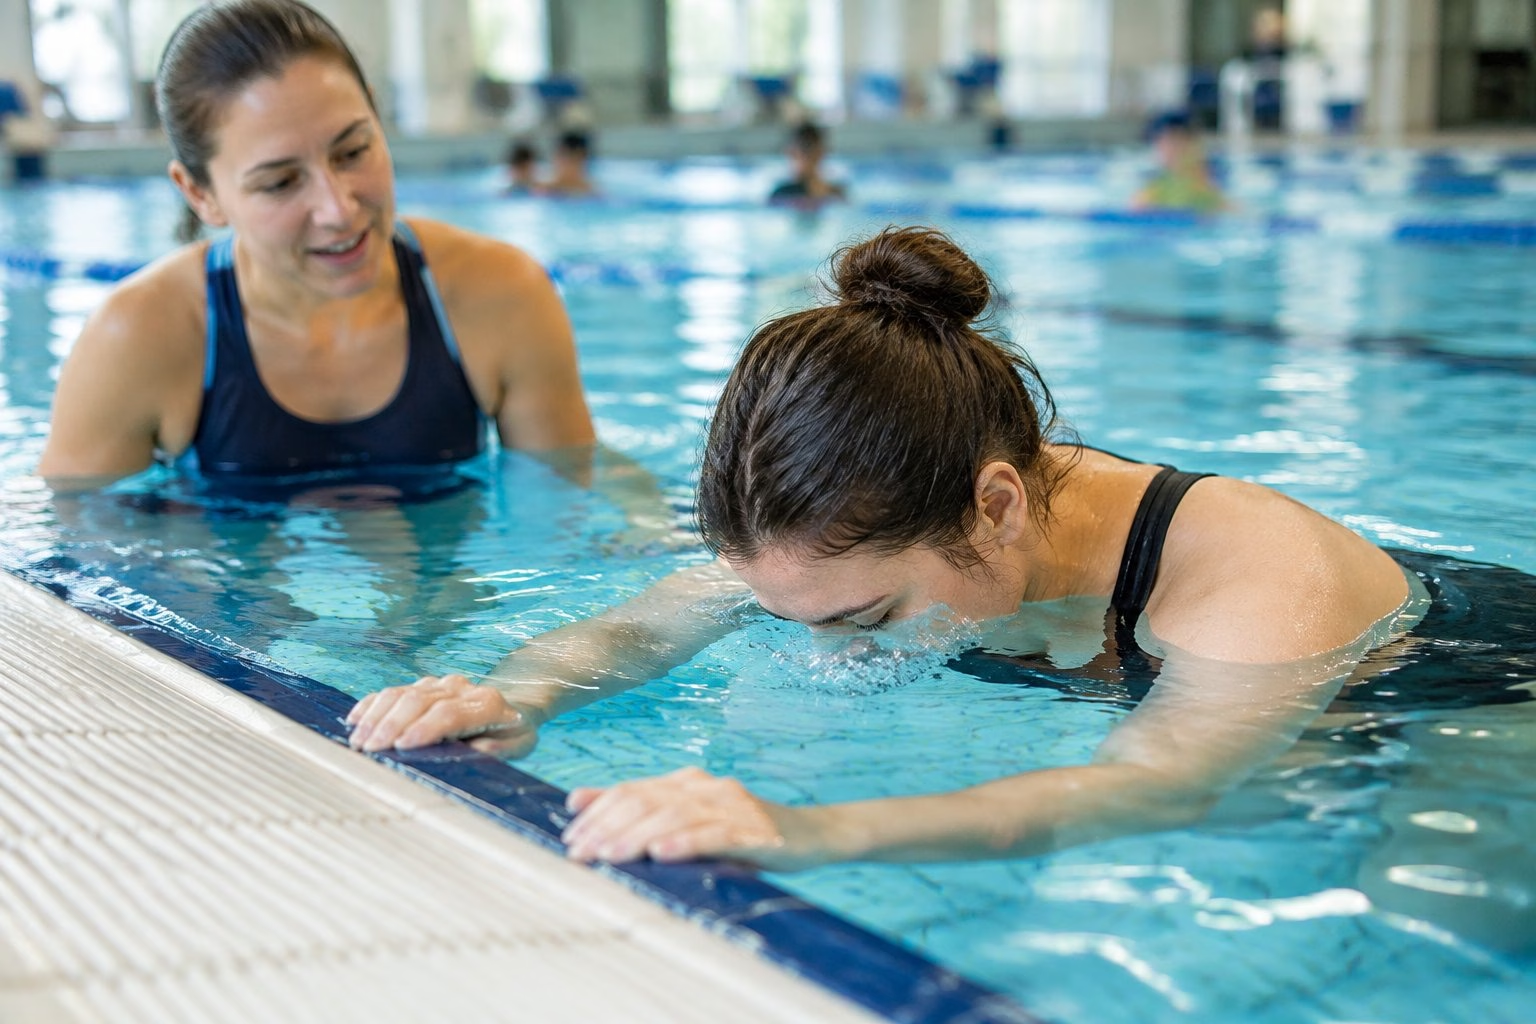
Start here, because continuous exhaling underwater is the single habit that stops the panic gasp. Hold the pool edge with both hands in chest-deep water, take a normal breath, and lower your face in.
Hum a steady stream of bubbles out through your nose and mouth for about three seconds. Lift your face just enough to breathe in, then go straight back down.
How to do it well:
- Keep your feet on the bottom the whole time
- Exhale until your lungs feel empty before you lift
- Inhale through your mouth in one quick sip
- Repeat 10 to 20 times in a smooth rhythm
If your nose stings, breathe out a little harder through it. Most beginners who hate water up the nose are exhaling too gently.
Open your eyes underwater if you can. Goggles help enormously, and a decent pair of anti-fog swimming goggles removes one more reason to squeeze your eyes shut.
2) Shallow-Water Bobbing Drill
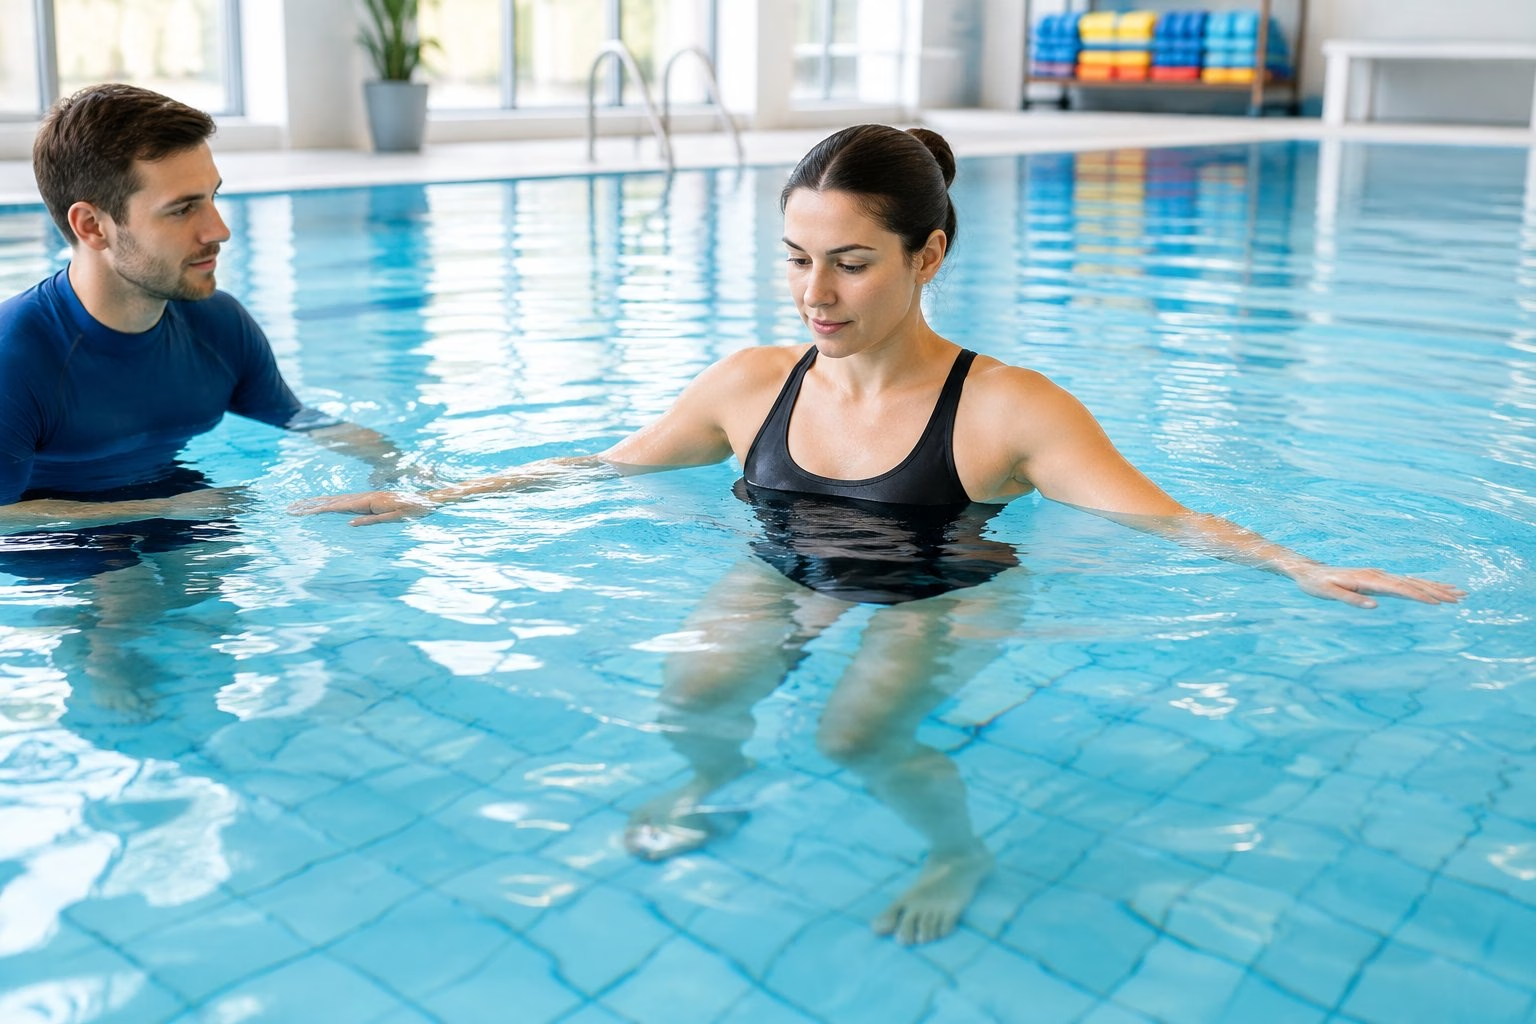
Bobbing adds full submersion to the breathing rhythm you just built. Stand in water at shoulder depth, take a breath, bend your knees, and sink until your head goes fully under.
Push off the bottom with your legs, surface, and breathe out as you rise. Land back on your feet, breathe in, and repeat.
The push from the bottom teaches you something useful: water always sends you back up. That single piece of physical evidence does more for nerves than any amount of reassurance from the poolside.
Do 10 to 15 bobs in a relaxed rhythm. Keep your eyes open under the surface so you can see where the bottom is.
Stay within arm’s reach of the wall or a friend for your first few sessions. If you feel your breathing quicken, stand up and wait until it settles before the next rep.
3) Wall-Supported Front Float and Stand
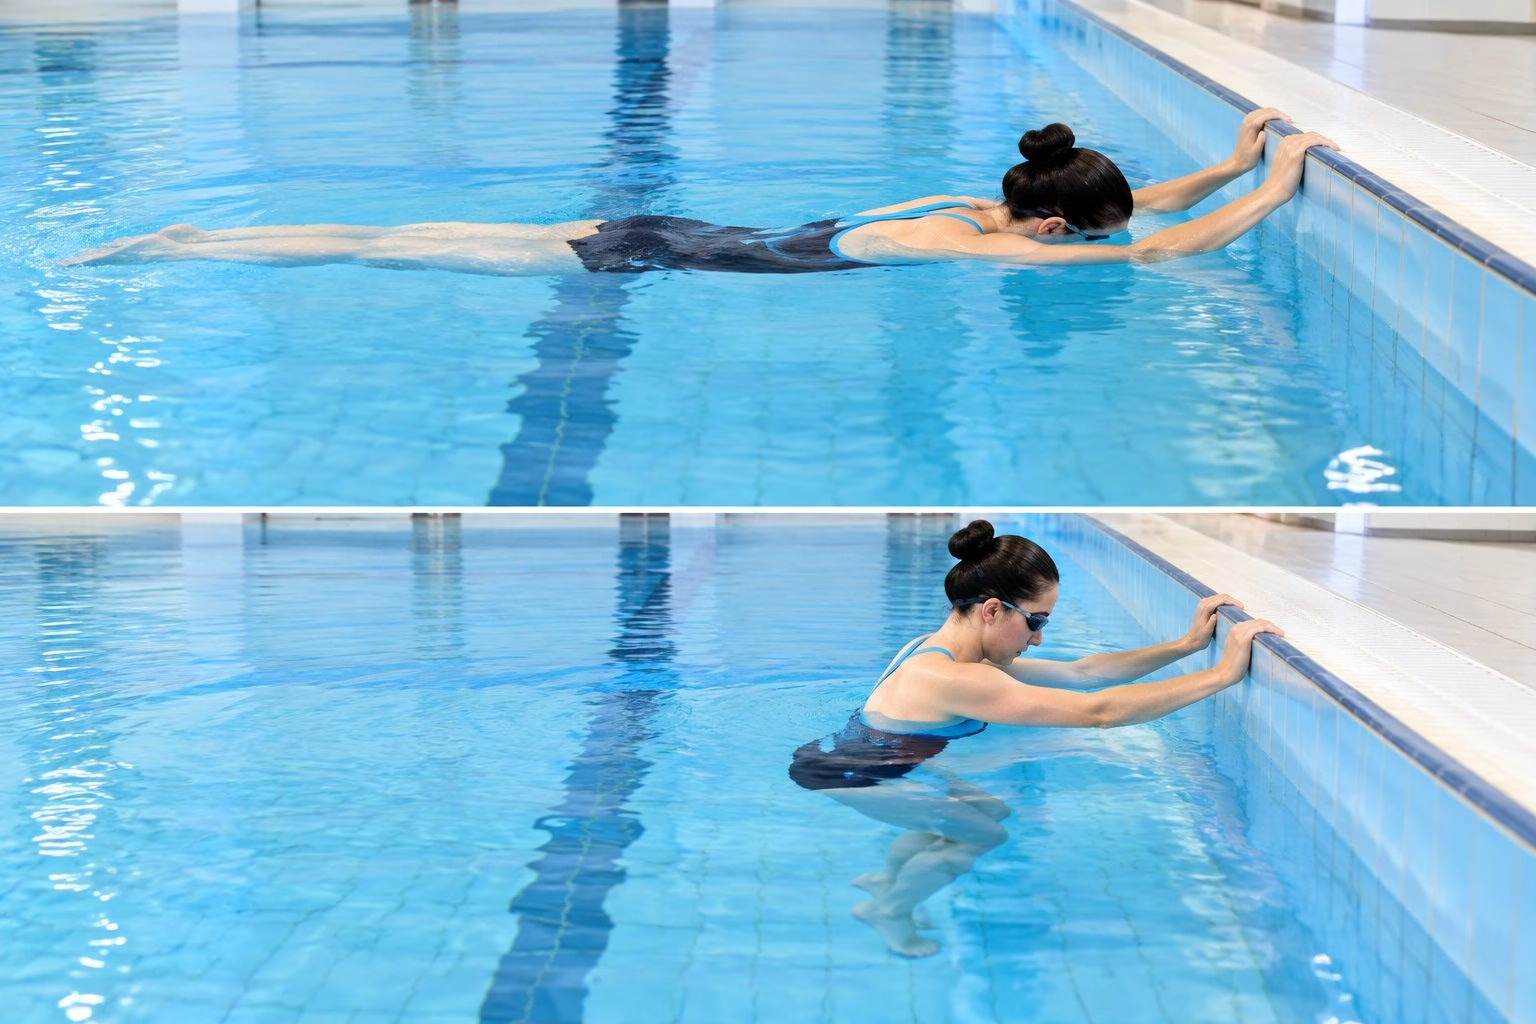
Learning to stand up from a float is a safety skill, not a technicality. Face the wall in chest-deep water and grip the edge or gutter with both hands.
Take a full breath, put your face in the water, and lean forward. Let your legs drift up behind you until your body lies flat near the surface.
Hold for five to ten seconds. Full lungs make you float; a relaxed body floats better than a stiff one.
To stand up:
- Pull your knees in towards your chest
- Press your hands down and forwards
- Lift your head last, once your feet are under you
Practise the recovery as often as the float. Beginners who panic in a float are almost always the ones who never rehearsed getting their feet back down.
4) Superman Glide
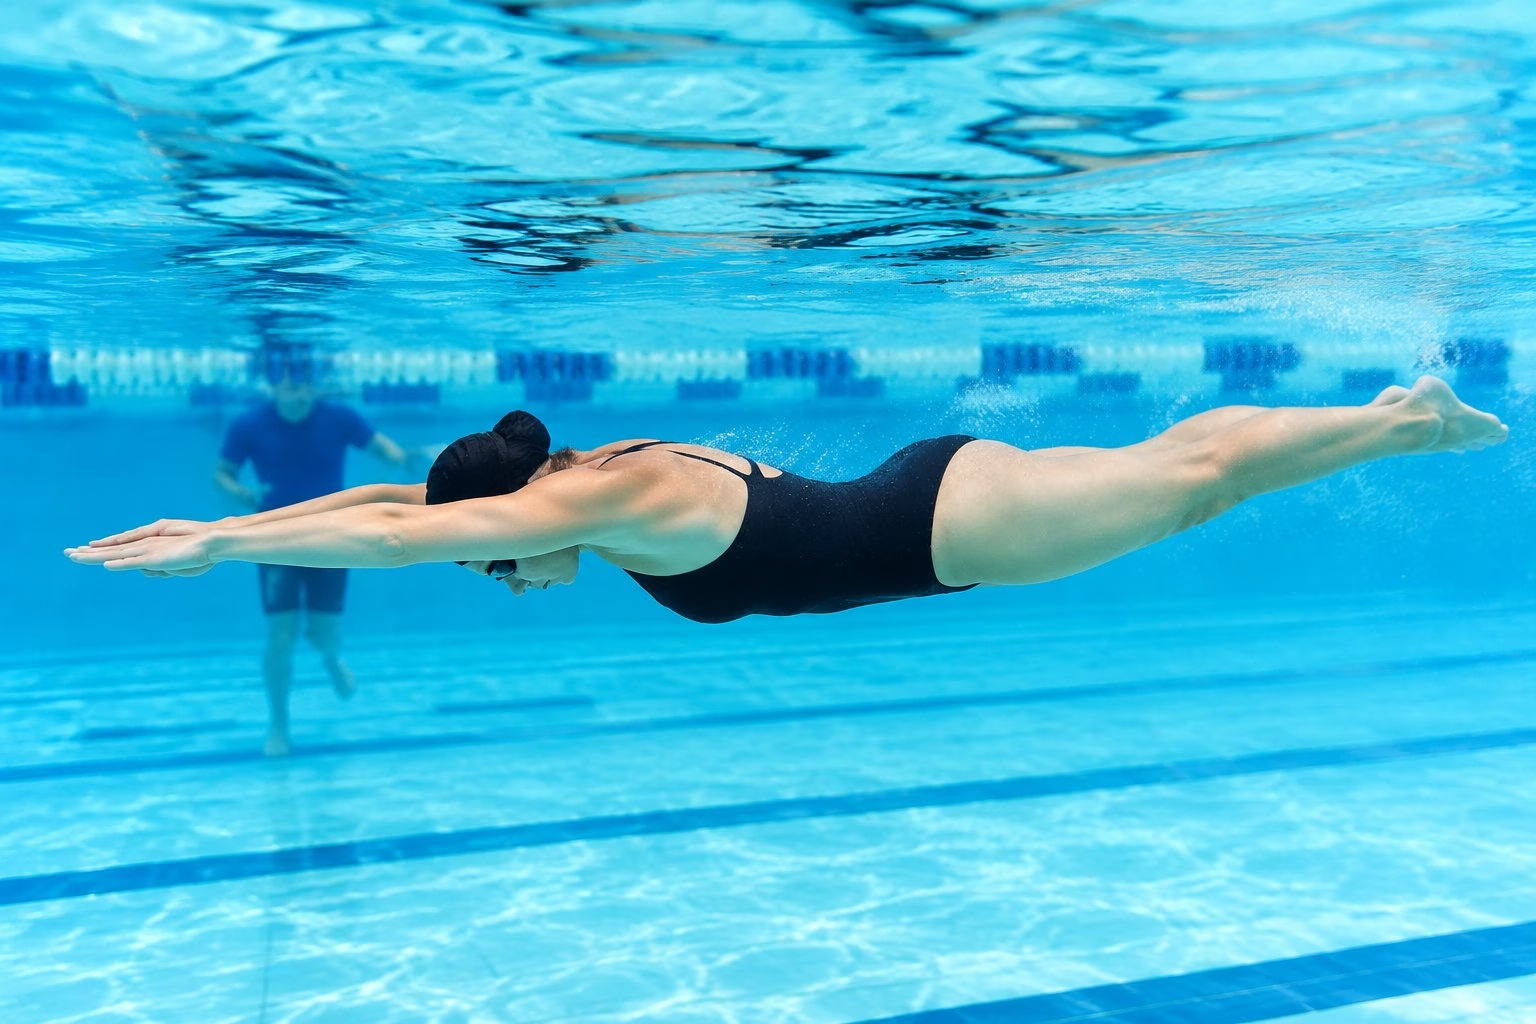
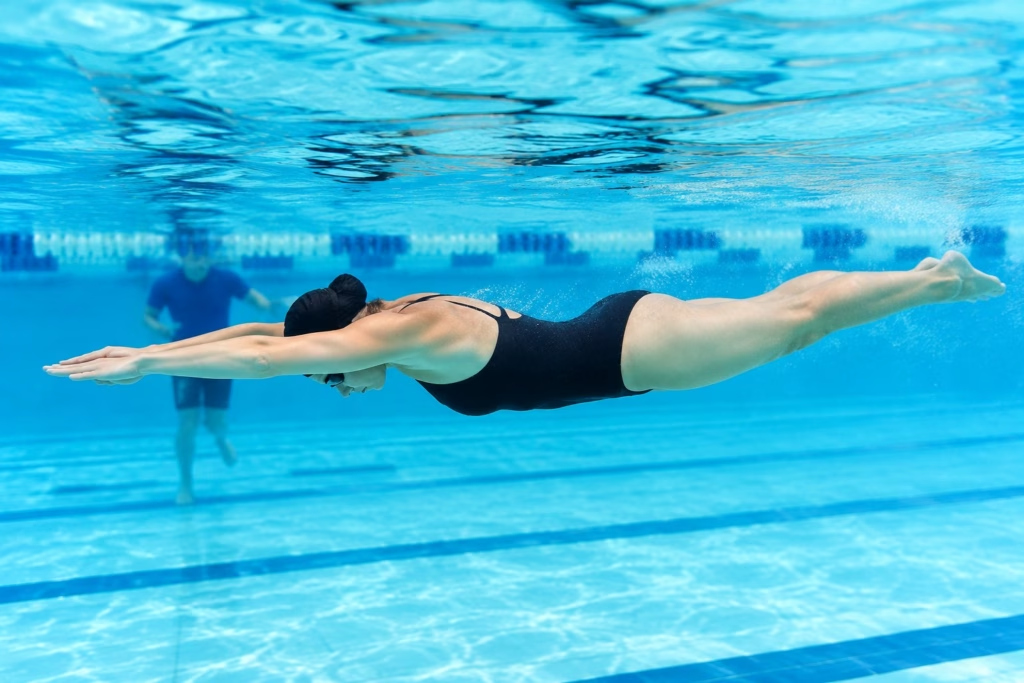
The superman glide teaches body line, which is what makes every stroke easier later. Stand in chest-deep water, take a breath, put your face down, and push gently off the bottom with both feet.
Stretch both arms straight ahead with your ears squeezed between your biceps. Hands stacked, core firm, toes pointed. Glide until you slow, then put your feet down and stand.
Look at the bottom of the pool, not forwards. Lifting your eyes drops your hips instantly, and you will feel the difference in how far you travel.
Aim for six to eight glides per session, trying to cover a little more distance each time. Distance tells you your line is improving.
If you feel your legs sinking, press your chest down very slightly. That small shift lifts the hips without any effort from your legs.
5) Back Float With Flutter Kick
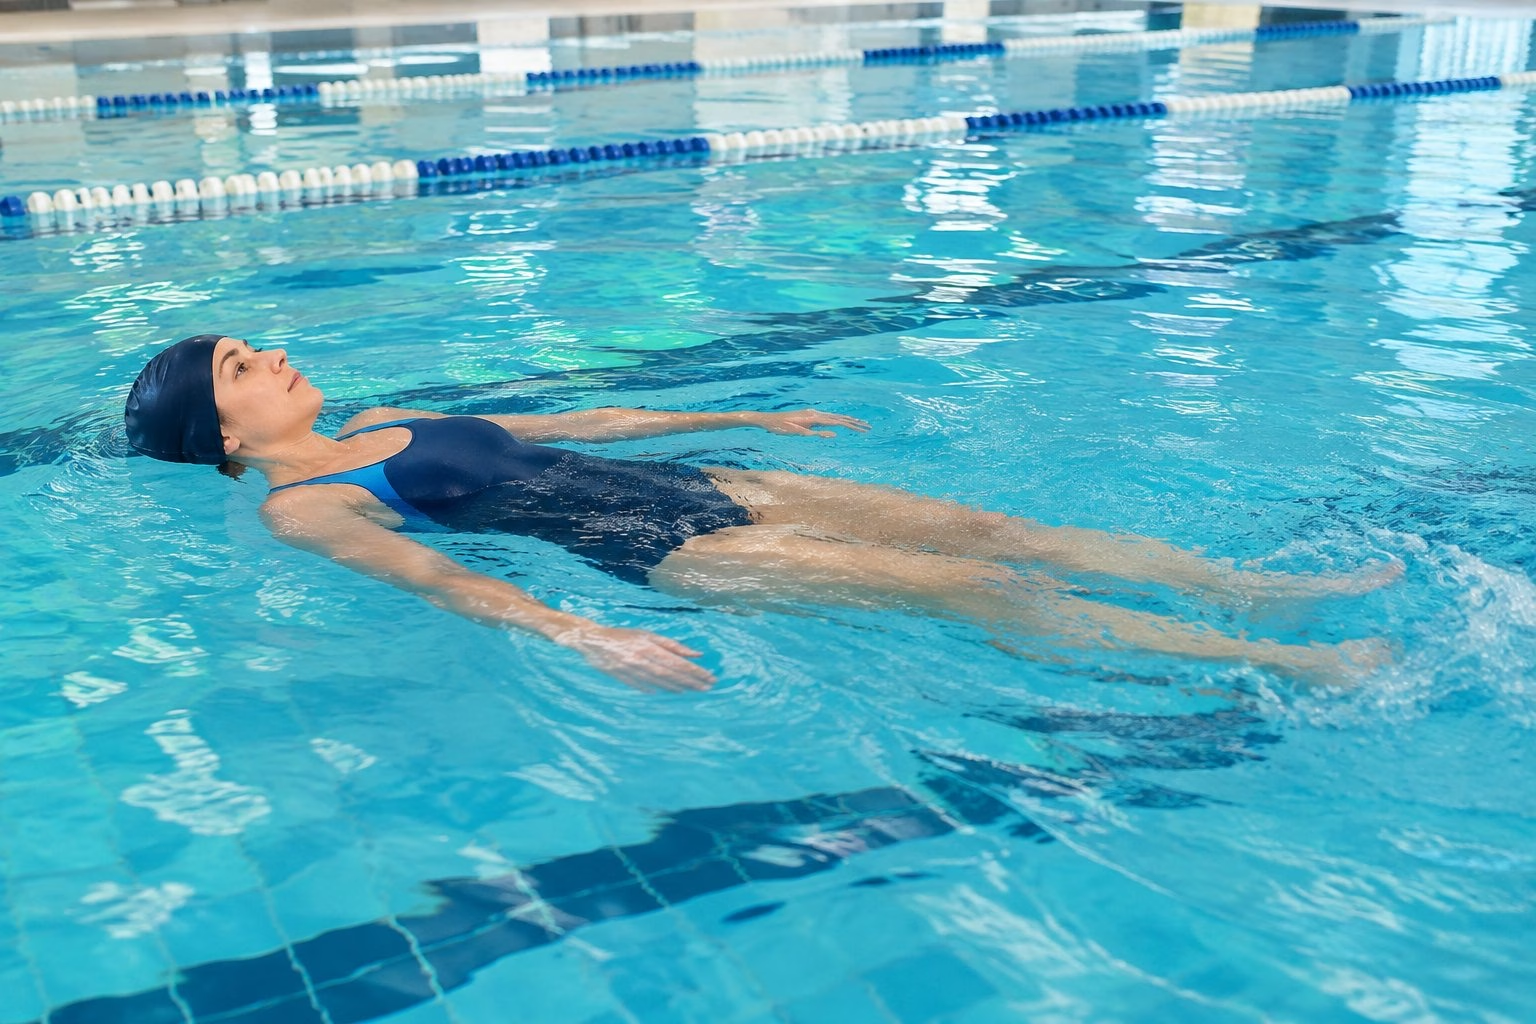
Floating on your back gives you a rest position where you can breathe freely, which makes it the most useful survival skill on this list. Start with your back to the wall in chest-deep water, hands holding the edge behind you.
Tilt your head back until your ears are underwater. Let your hips rise and your feet lift off the bottom.
Once that feels steady, let go and add a small flutter kick from the hips. Keep your chest tall and your head still.
Common problems and quick fixes:
| What happens | Why | Fix |
|---|---|---|
| Hips sink | Head lifted too high | Let your ears drop under, look straight up |
| Feet splash loudly | Kicking from the knees | Smaller kicks, longer legs |
| You feel unstable | Arms tucked in | Spread your arms out slightly |
Children often find this position easier with support at first, and there’s a useful comparison of back floats versus arm floats for learning to swim if you’re teaching a child alongside your own practice.
6) Kickboard Flutter Kick
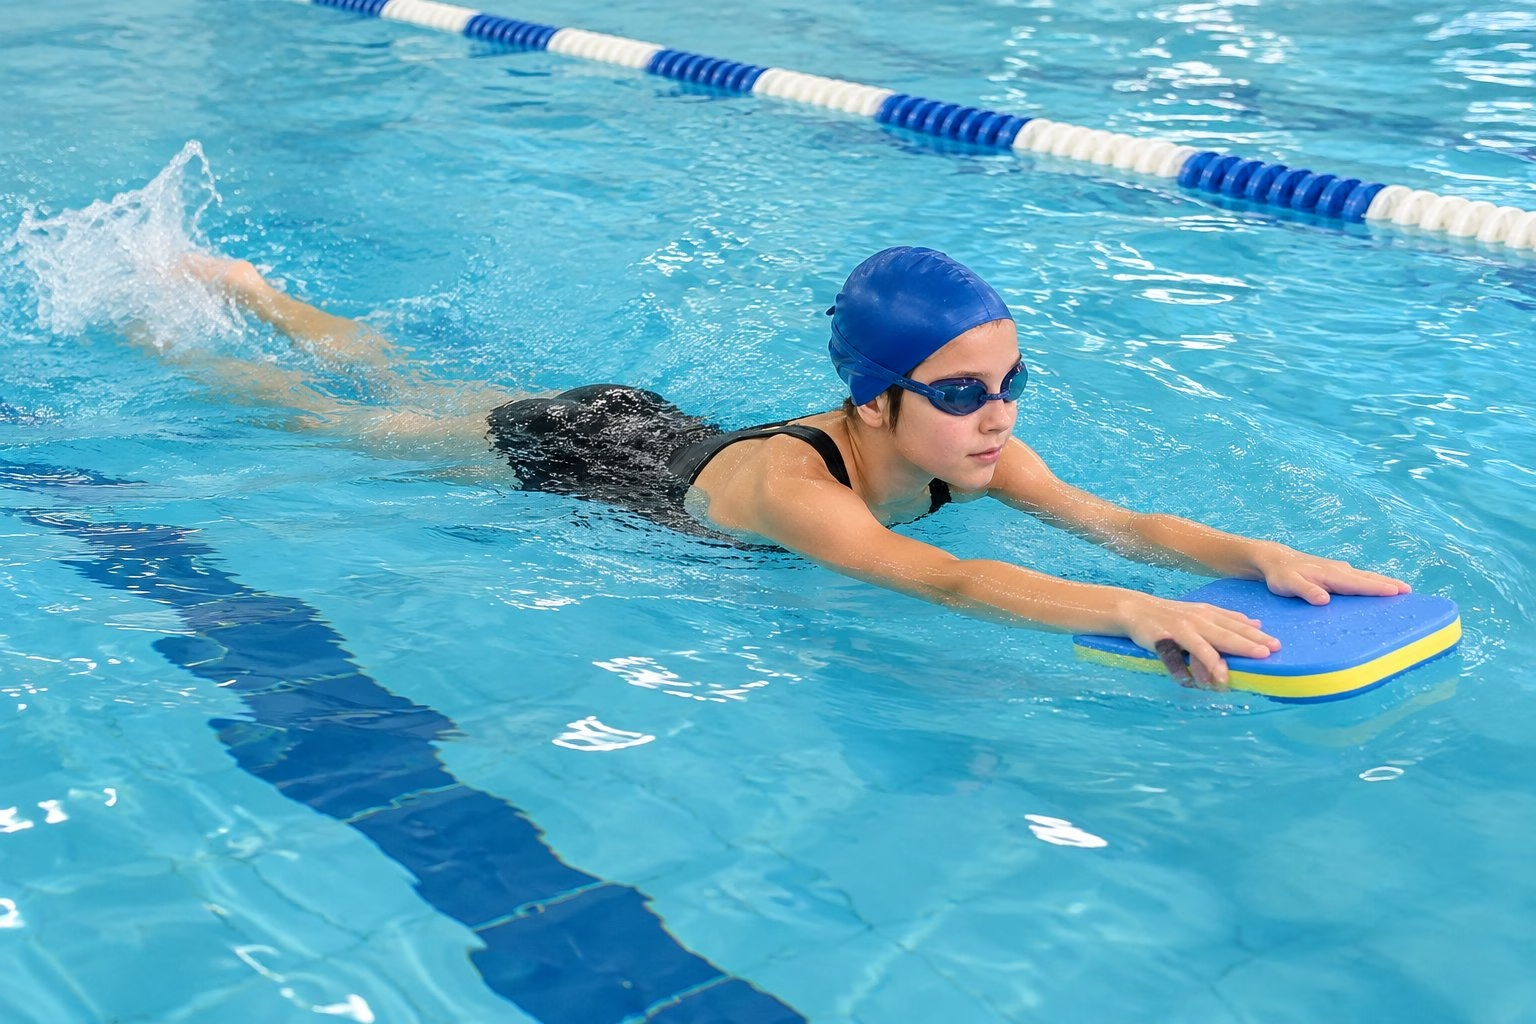
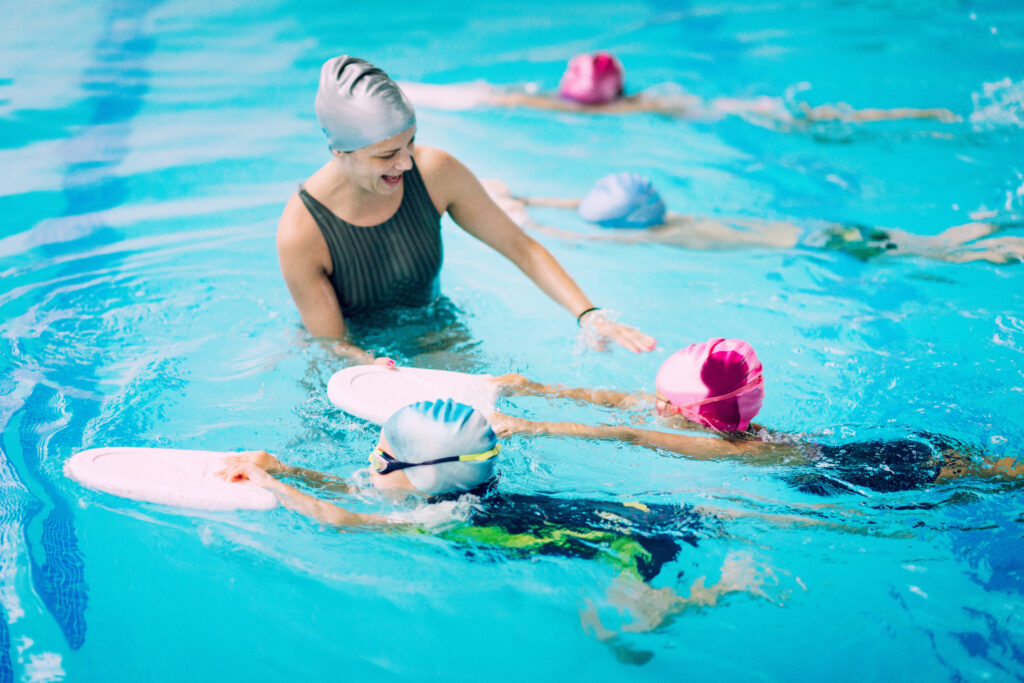
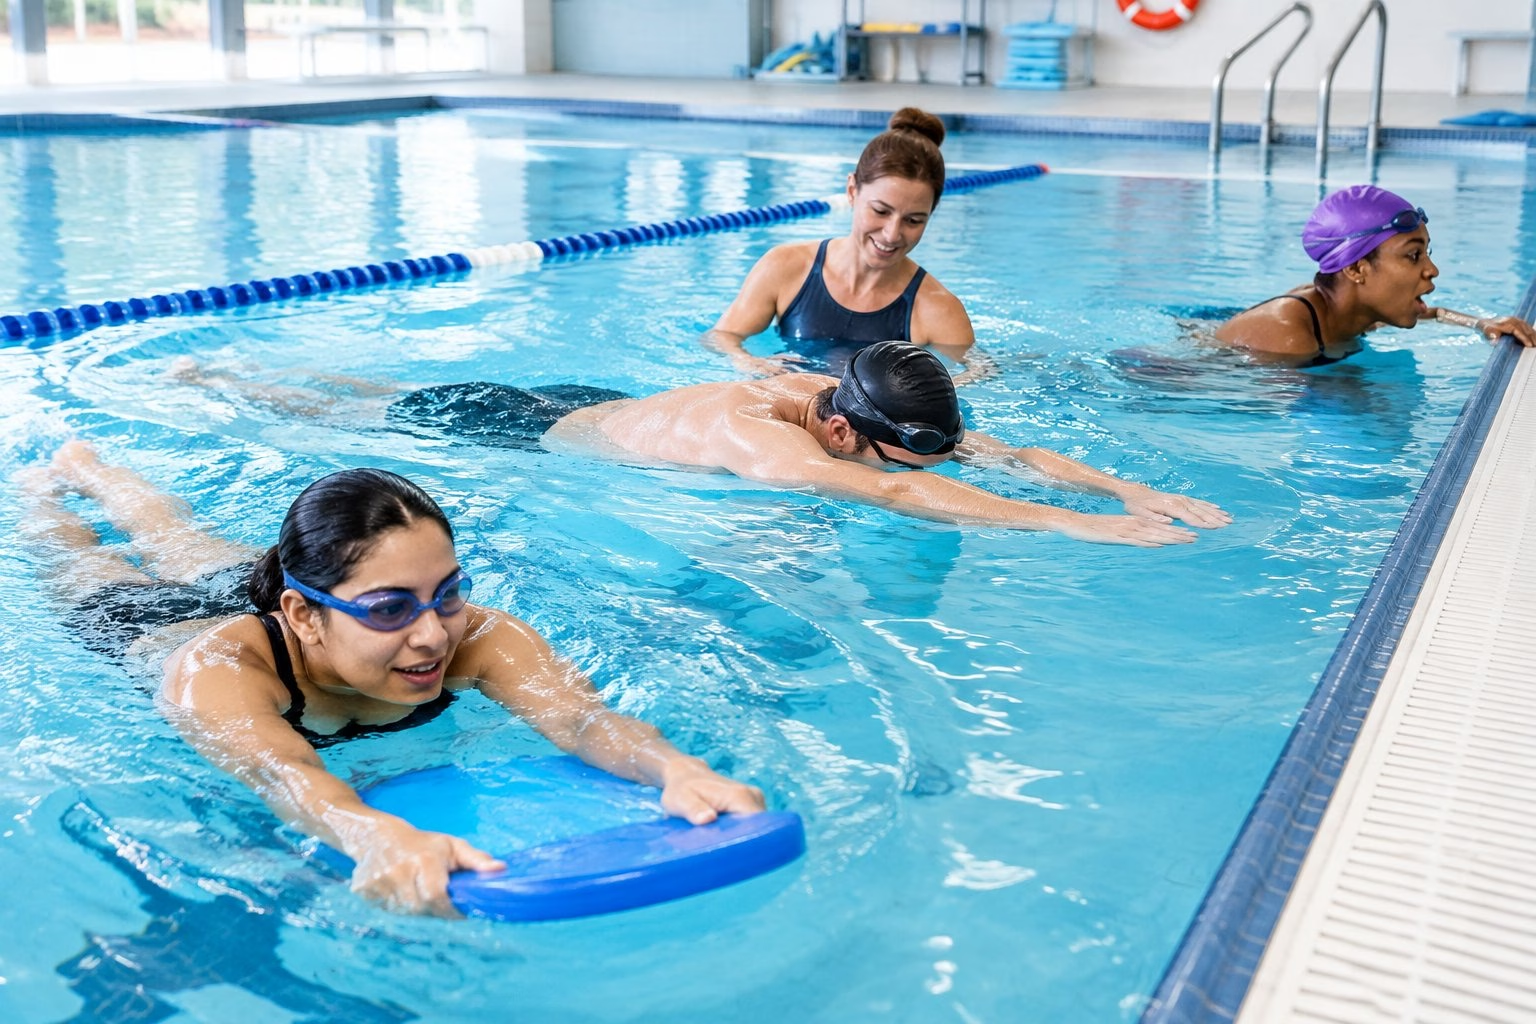
A kickboard lets you work the legs while your upper body rests, which is why it’s the first piece of kit most beginners should own. Hold the board with both hands, arms extended, and kick along the shallow end.
The kick comes from the hips. Keep your legs long, toes pointed, and ankles loose. Small, fast kicks move you forwards; big, splashy ones just tire you out.
Keep your face in the water and blow bubbles, lifting only to breathe. Kicking with your head permanently up arches your back and drops your hips, so use short repeats of half a width or a width.
Four to six short repeats with proper rest between each is plenty. Stop when your form goes, not when your legs give out.
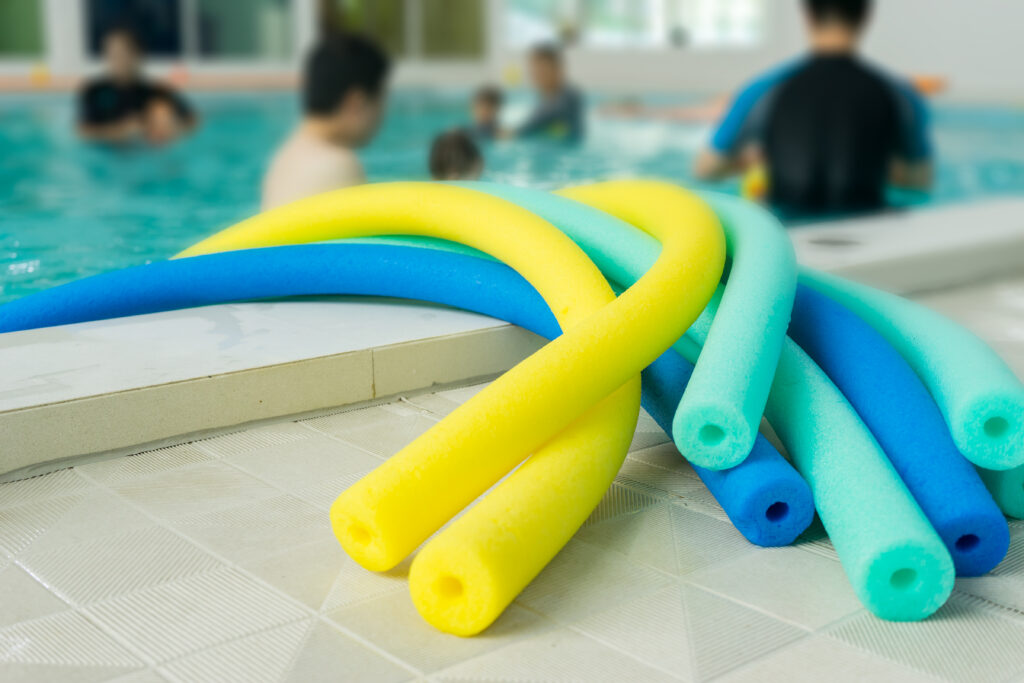
Floats and pool noodles work well here too, and learning to swim with pool noodles and floats covers how to use them without becoming dependent on them.
7) Side-Kick Balance Drill
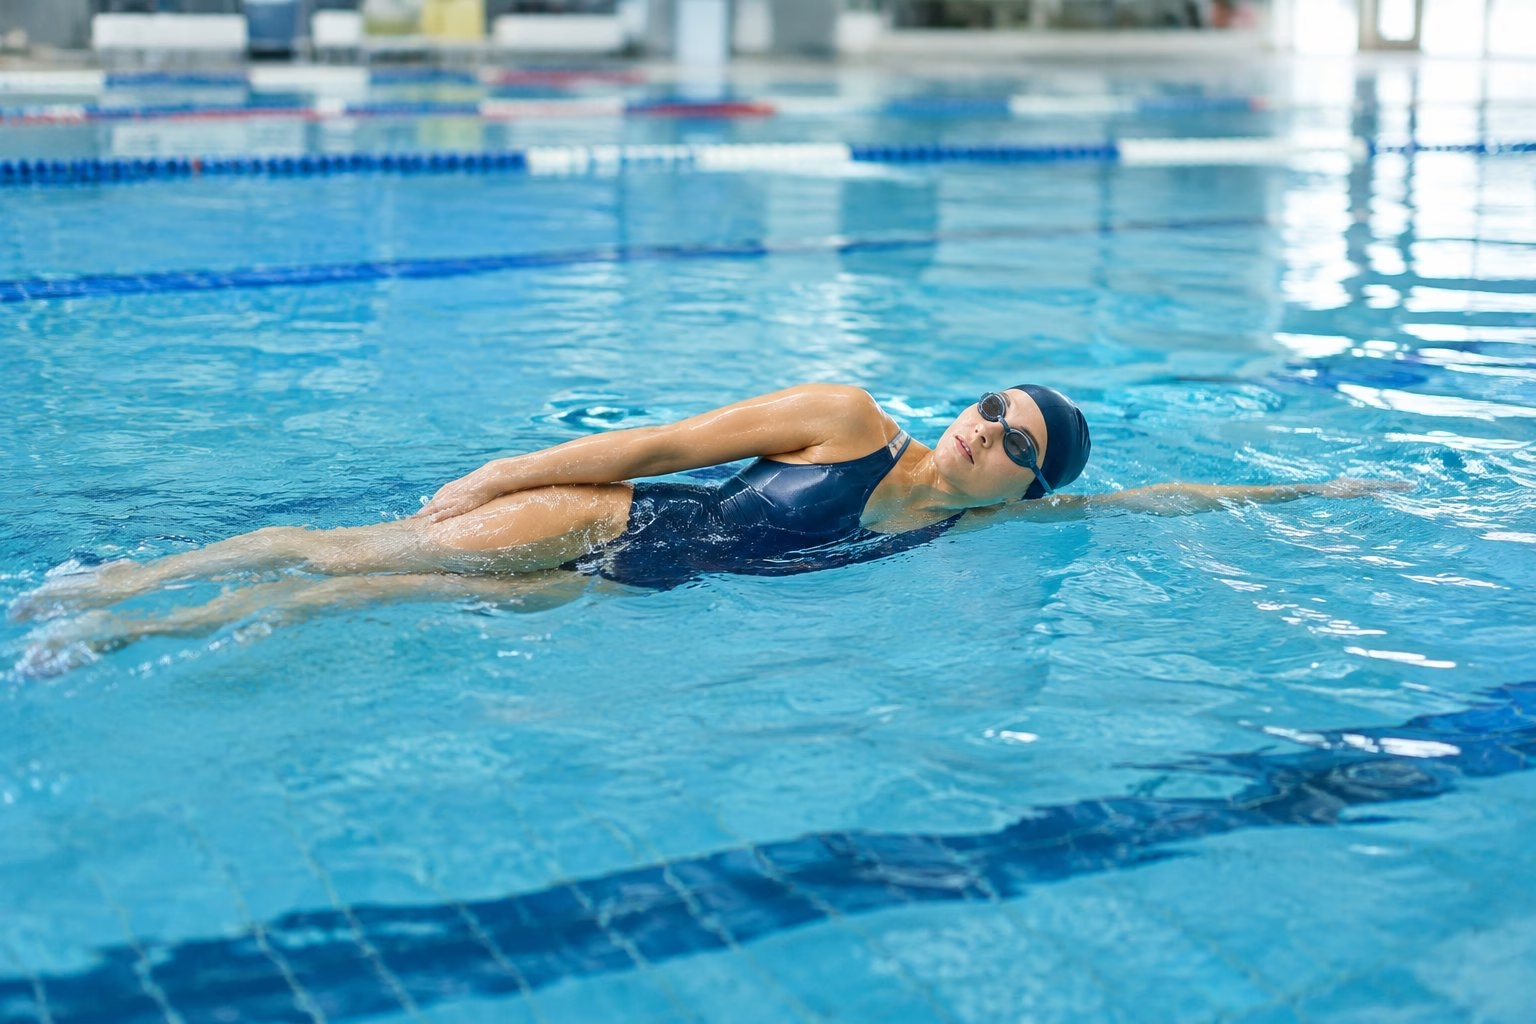
Front crawl is swum on the side, not flat, and this drill teaches the position your body rotates through on every stroke. Push off on one side with your bottom arm stretched forward and your top arm resting along your hip.
Flutter-kick down the pool while looking at the bottom. Let your lower cheek rest in the water and keep your head completely still.
Hold one side for a width, then swap. Both sides need equal work, and your weaker side will feel awkward for several sessions.
If you roll flat or start to sink, press your chest down a fraction. That’s the same cue as the glide, and it works for the same reason.
Once the position feels stable, add a breath every six to eight kicks by rotating your face up towards the ceiling. That rotation is exactly how you’ll breathe in freestyle, so rehearsing it here saves a lot of frustration later.
8) Single-Arm Freestyle Drill
Isolating one arm shows you exactly what each half of your stroke is doing. Start in a glide with both arms extended forwards. Keep one arm still out in front while the other pulls all the way through to your thigh and recovers back to the front.
Complete four to six strokes with the same arm, then swap. The extended arm holds your balance and stops you rolling over.
Watch for three things as you go: whether your hand crosses over the centre line on entry, whether your pull reaches your thigh, and whether your body rotates with the arm.
Breathe to the side of the working arm, turning your head rather than lifting it. If breathing on that side feels impossible, do the drill with your face out of the water until the arm pattern is automatic, then add the breathing.
Short repeats suit this one. Two to four widths per arm is enough to notice a change without your shoulders getting tired.
9) Catch-Up Freestyle Drill
Catch-up slows front crawl right down so you can feel each phase of the stroke. Begin in a glide with both hands out front. Pull one arm through to your hip, recover it, and touch your other hand before the next arm starts.
Your hands “catch up” and meet at the front on every cycle. That pause forces one arm to stay long and stable while the other works.
Focus on a full pull to your thigh and a long reach on entry. Beginners who rush both arms at once end up with short, choppy strokes that move very little water.
Try four widths, breathing to your stronger side. Count your strokes per width and see whether reaching further brings that number down.
Blend it back into normal swimming after a few reps. A stroke built entirely on catch-up becomes too paused, so alternate a drill width with a relaxed swim width.
10) Pull, Breathe, Kick, Glide Breaststroke Drill
Breaststroke has a fixed order, and swimming it out of sequence is why so many beginners sink mid-stroke. The sequence is pull, breathe, kick, glide, and the glide is the part most people skip.
From a streamlined float, sweep your hands out and back in a small circle, no wider than your shoulders. As your hands sweep in, your head rises naturally and you breathe.
Then draw your heels towards your seat, turn your toes out, and whip your feet out, round and together. Your hands shoot forward as your legs snap closed.
Hold the glide for a full second before starting the next pull. Count it out loud in your head if it helps.
Practise the kick alone first while holding the wall, so you can watch your feet turn out. Feet that stay pointed will not propel you, and correcting that shape at the wall is far easier than mid-pool.
Set Up a Safe, Low-Pressure Practice Session
Practise where you can stand up, with a lifeguard on duty and preferably somebody who knows you’re in the water. Quiet lane hours at your local pool give you space to stop and restart without holding anyone up.
Plan a 20 to 30 minute session with more rest than you think you need. Beginners improve through repetition of good reps, and tired reps teach your body the wrong pattern.
What pool depth and area are safest for beginner drills?
Chest-deep water is the sweet spot. It’s deep enough to float and glide, shallow enough that standing up is always an option within one second.
Use the shallow end or a designated learner pool, staying within a stride of the wall or the poolside rail. Avoid the deep end entirely until you can float on your back, tread water, and swim a width unaided.
Width practice beats length practice early on. A width gives you a wall at both ends and a short distance you can complete without a breathing crisis in the middle.
What equipment does a new swimmer actually need?
Goggles and a kickboard cover almost everything in this progression. Goggles let you keep your eyes open, which removes a surprising amount of anxiety, and a board supports your upper body during kick work.
A swim cap helps if you have long hair. Fins give extra propulsion for side-kick work, though use them sparingly so you still learn real balance.
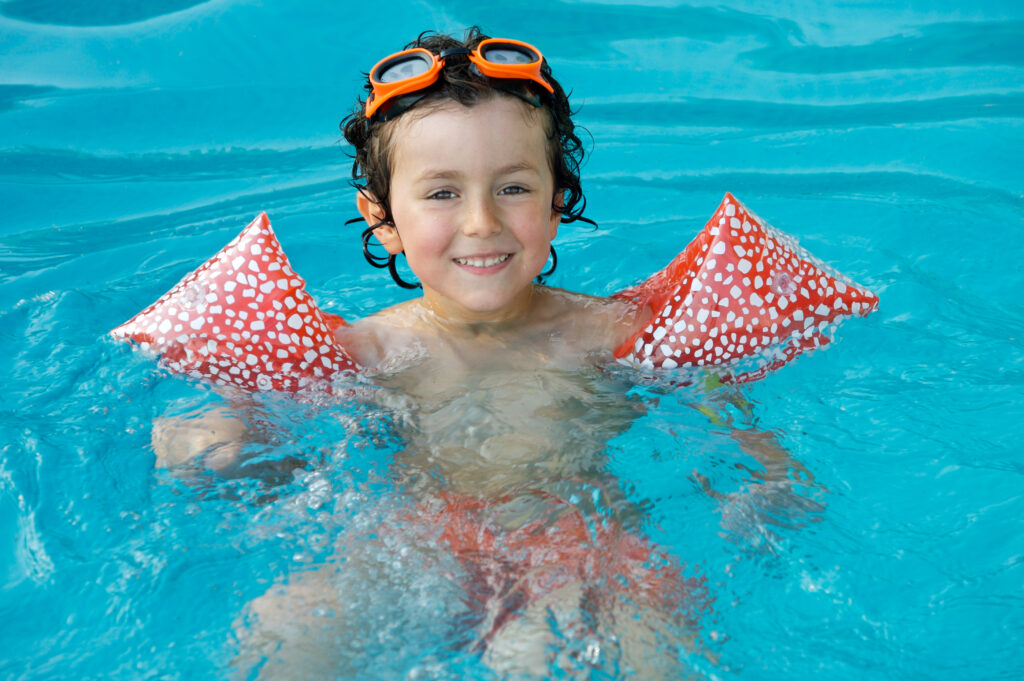
Buoyancy aids have a place for nervous learners and children. They should reduce fear while you build the skill, then come off.
How many repetitions should a beginner do before resting?
Four to six short reps of any drill, then a genuine rest of 20 to 30 seconds at the wall. That structure keeps quality high across the whole session.
Two or three drills per session is plenty. Attempting all ten in one visit means doing none of them well.
Stop a drill the moment your technique falls apart. Ending a set slightly early leaves you wanting the next session, which matters far more for a beginner than squeezing out two extra widths.
When should a learner stop practising and ask for help?
Get out if you feel light-headed, if your breathing won’t settle after 30 seconds of rest, or if you swallow water and start coughing. Sit on the side until you feel normal again.
Speak to the lifeguard if you feel unwell at any point. They’re trained for exactly this, and telling them early is always the right call.
Persistent panic when your face goes in is a signal to book lessons instead of pushing through alone. Fear tends to deepen with repeated bad experiences.
Build Skills Without Rushing to Full Lengths
Add complexity one layer at a time: breath control, then floating, then gliding, then kicking, then arms. Each layer needs to feel automatic before the next goes on top.
Most beginners try to swim a length within their first few sessions and learn that flailing works, sort of. Undoing that takes longer than learning it properly in the first place.
What should a beginner master before adding arm strokes?
You need calm exhaling underwater, a front float you can stand up from, a back float you can hold for 20 seconds, and a glide that travels at least two body lengths.
A steady flutter kick from the hips comes next. Arms added to a sinking body just create splash without forward movement.
Being able to tread water is worth adding around this stage, since it gives you a way to rest anywhere in the pool.
How can a nervous swimmer make each drill easier?
Shorten the distance and keep a hand on the wall. A two-second glide you finish calmly is worth more than a five-second glide that ends in a scramble.
Split the drill into smaller pieces. For the front float, try just putting your face in for two seconds, then adding the lean, then adding the legs on a later day.
Swim with someone who can stand beside you in the water. Having a person within arm’s reach lets your nervous system relax enough to learn.
How do you progress from isolated drills to short swims?
Alternate a drill width with a swim width. Do a catch-up width, then swim a relaxed width trying to keep the same long reach, then repeat.
Build distance in widths first, then move to a single length once you can do four widths without stopping. Count your strokes each time and aim to cover the distance in fewer.
Once full lengths feel comfortable, structured sets give you something to aim at. The perfect 30 minute swimming workout for beginners sets out a session you can follow, and a complete guide to swimming for fitness for beginners explains how to build weekly volume safely.
Frequently Asked Questions
What are the best swimming drills for complete beginners?
Bubble blowing at the wall, shallow-water bobbing, and the wall-supported front float are the three to start with, because they build breath control and floating before any propulsion is involved. Add the superman glide and kickboard flutter kick once those feel routine. Stroke drills like catch-up should wait until you can glide and kick comfortably.
What should a beginner swimmer learn first?
Rhythmic breathing comes first, specifically exhaling continuously while your face is underwater. Holding your breath is the root cause of most beginner panic, tension through the neck and shoulders, and rushed strokes. Master a calm exhale at the wall before you attempt anything that involves moving.
How can I practise swimming drills if I am afraid to put my face in the water?
Start with your chin in the water only, blowing bubbles at the surface, then work down to your mouth, then your nose, over several sessions. Wear goggles from the first attempt, since not seeing underwater makes fear considerably worse. Back floating and back kicking let you make real progress while breathing freely the whole time.
How many swimming drills should beginners do in one session?
Two or three drills per session works best, with four to six short repetitions of each. That gives roughly 20 to 30 minutes including rest, which is enough for quality practice without fatigue wrecking your form. Aim for two or three sessions a week rather than one long weekly swim.
When should a beginner take swimming lessons from a qualified instructor?
Book lessons if you cannot float, feel persistent panic when your face goes underwater, or have practised for several weeks without progress. A qualified instructor spots errors you cannot see, like a crossing hand entry or knee-driven kick, and corrects them before they harden into habits. Adults with no swimming background benefit most from starting with lessons rather than self-teaching.