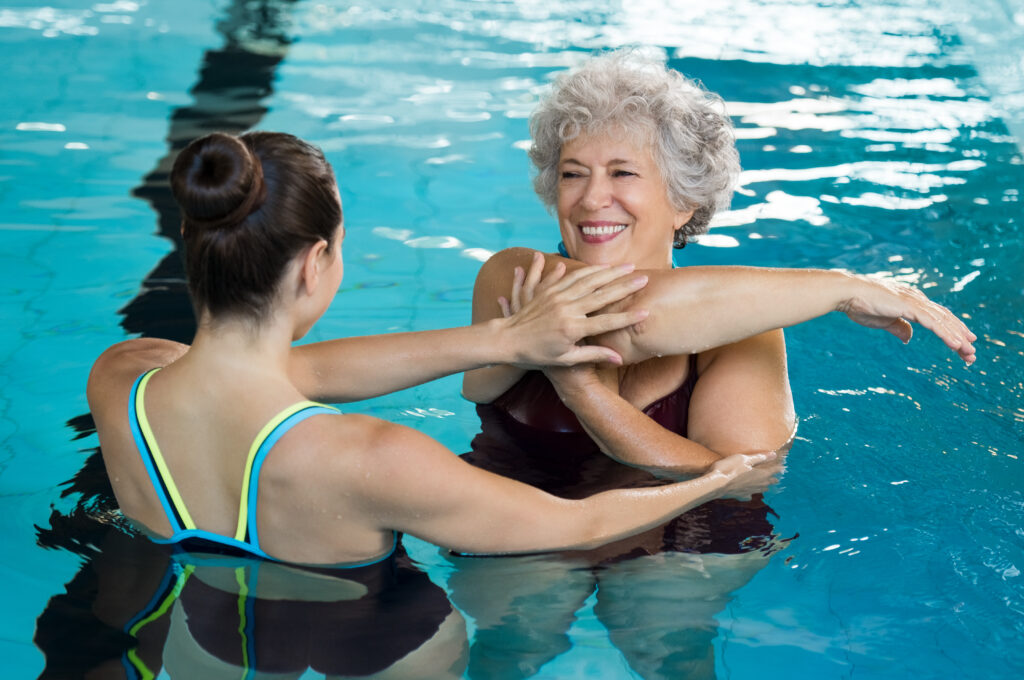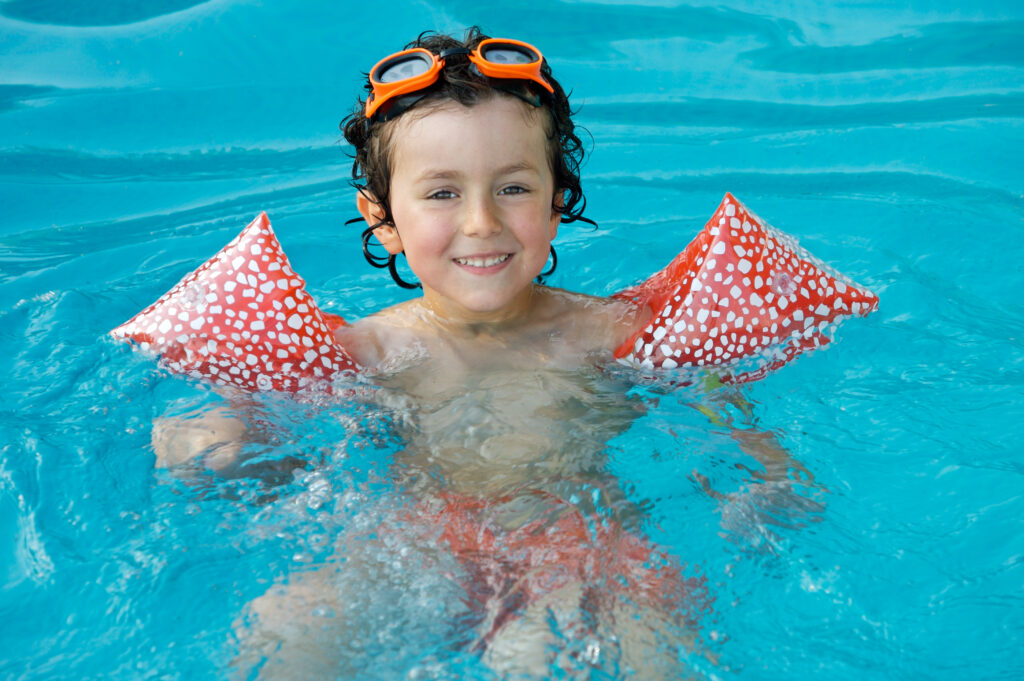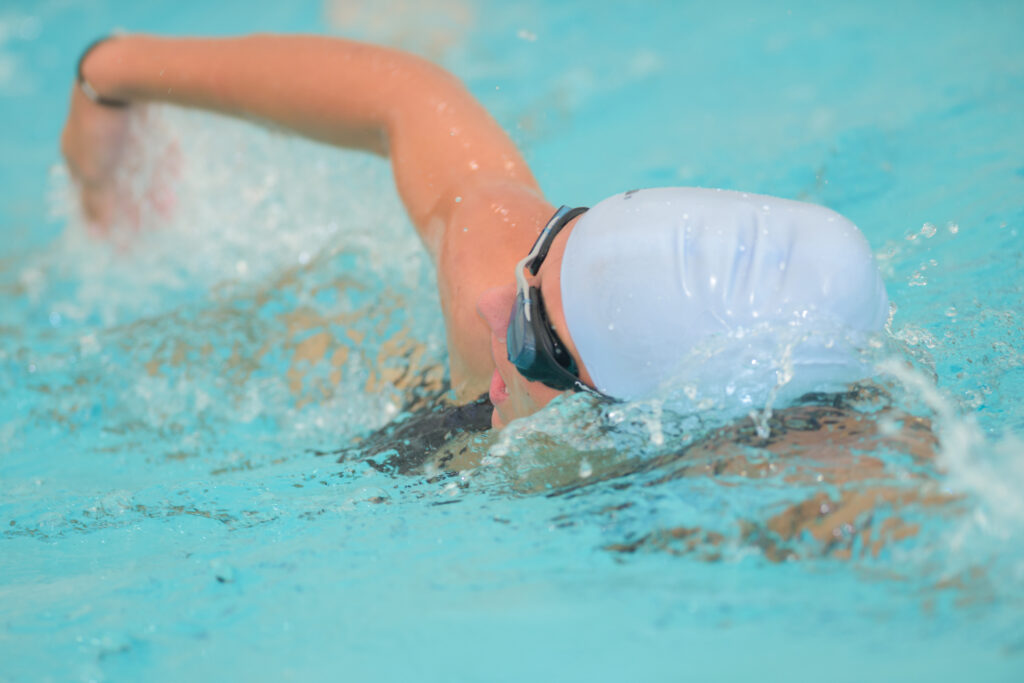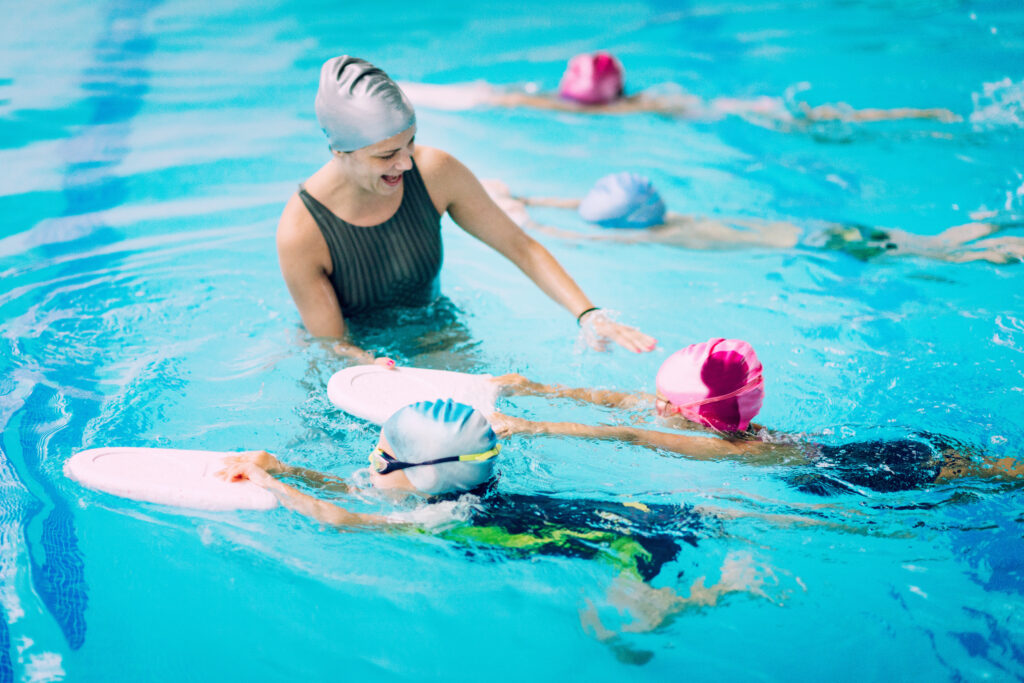
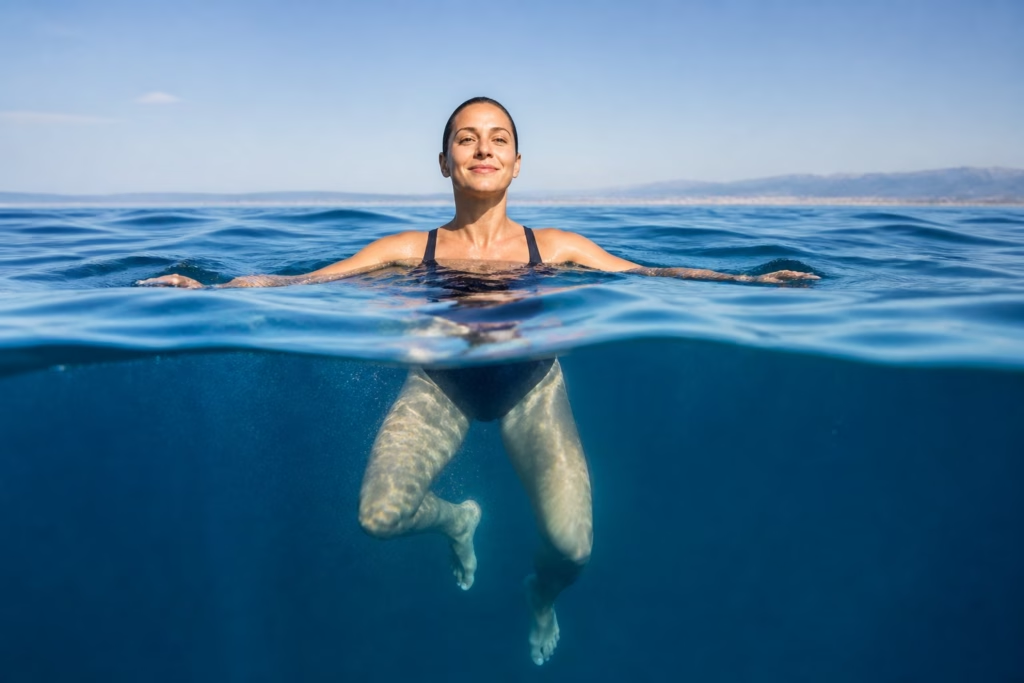
Treading water means staying upright in deep water with your head above the surface, using small arm and leg movements to hold your position without touching the bottom. It is one of the most useful basic swimming skills you can own, and unlike a fast front crawl, you can learn the essentials in a few focused sessions.
The secret is not strength. It is calm breathing, a relaxed body and small, steady movements that press water downwards rather than thrashing at it. Most adults who struggle are working far too hard, holding their breath and trying to climb out of the water instead of letting the water hold them.
If you have ever felt your heart race in the deep end, you are in good company. Plenty of confident adults never learned this skill as children, and the fear of deep water can stick around for decades. The good news is that treading water is a technique, not a talent.
At Swimmers World we cover everything from wild swimming and race pace training to gear reviews, and beginner skills like this one sit right at the heart of it. Work through the four steps below at your own pace, and when you want more help building water confidence, have a browse through our beginners and improvers guides for the next skill on your list.
Why This Skill Matters in Deep Water
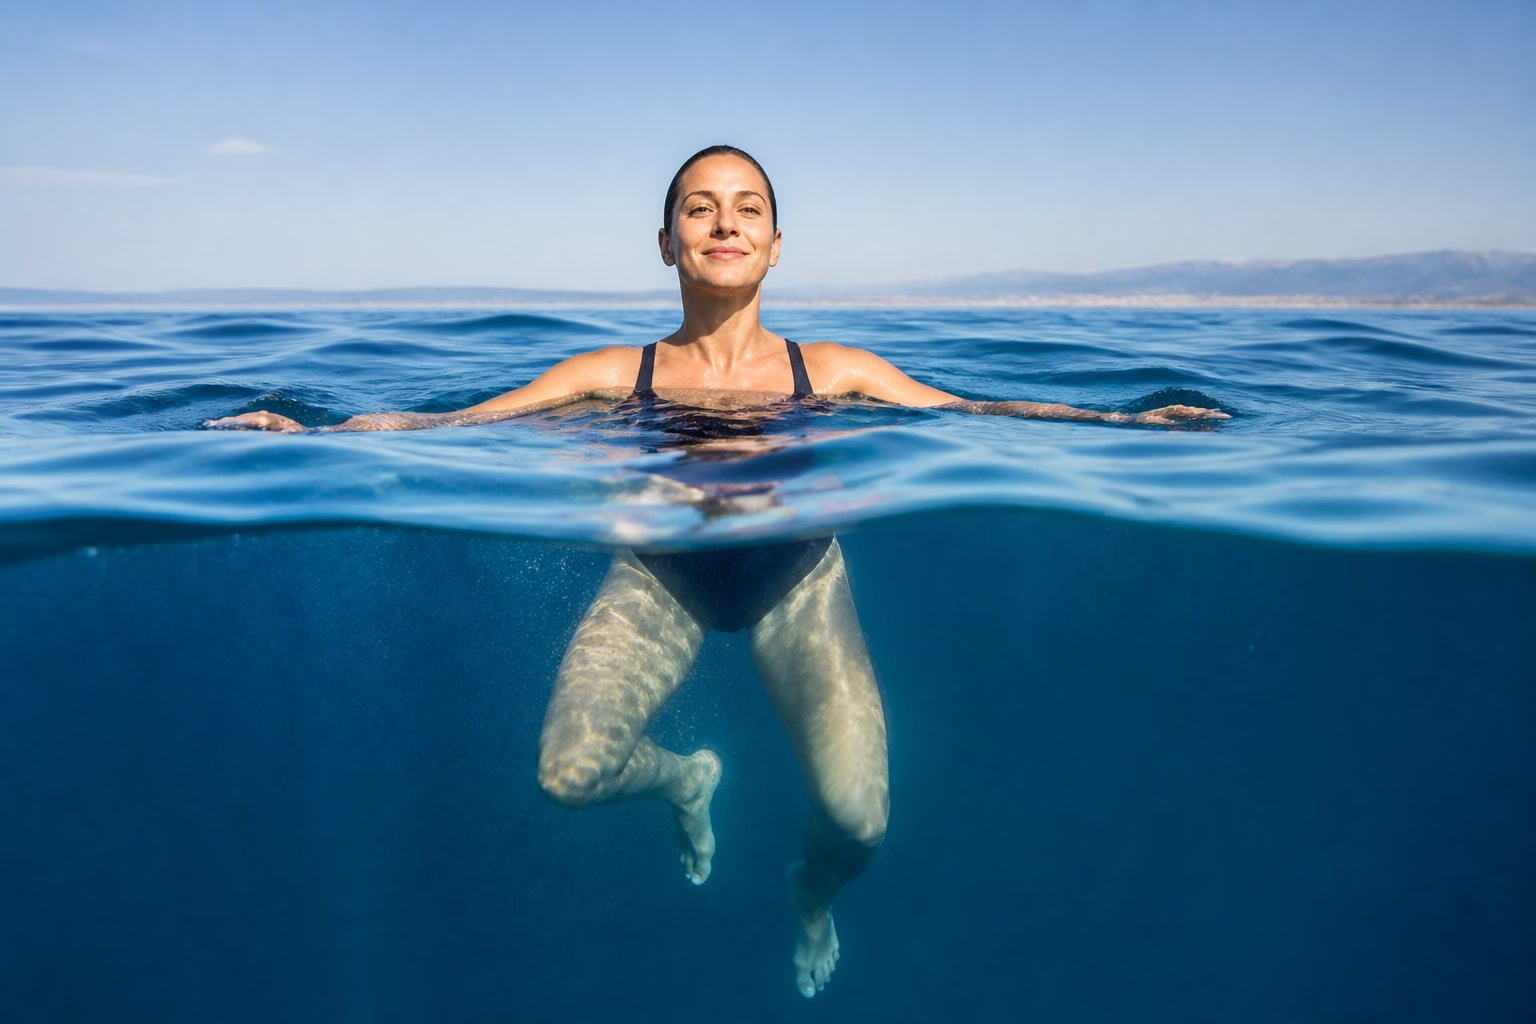
Treading water buys you time. It lets you rest mid-swim, sort out a leaking goggle, wait your turn at a deep-water start, or stay calm while you work out how to get back to safety.
A Pause, Not a Replacement for Swimming
Think of treading water as your pause button rather than your engine. You are not going anywhere, and that is the point.
It sits alongside back floating as one of two ways to hold your position. Back floating uses less energy over long periods, so it is the better survival option if you are exhausted, while treading water keeps your face clear and your eyes on your surroundings.
Confidence, Water Safety and Survival Awareness
Fear of deep water usually comes from one belief: if I stop moving, I sink. Once you have proved to yourself that you can hold a spot in the deep end for 30 seconds, that belief loses most of its grip.
That is why treading water appears in lifeguard training and swim school assessments across the UK. It shows you can stay calm and in control when your feet cannot reach the floor.
When Treading Is Useful for Pool and Open-Water Swimmers
You will use it more often than you expect:
- Deep-water starts in triathlons and open water events
- Taking a feed or adjusting a wetsuit mid-swim
- Waiting for a group in a lake or the sea
- Water polo, lifesaving and rescue skills
- Simply chatting at the deep end without hanging off the wall
Flotation devices and a life jacket are still the right call in open water when conditions are rough or you are swimming alone. Treading water supports those tools, it does not replace them.
Step 1: Build Comfort, Buoyancy and Calm Breathing
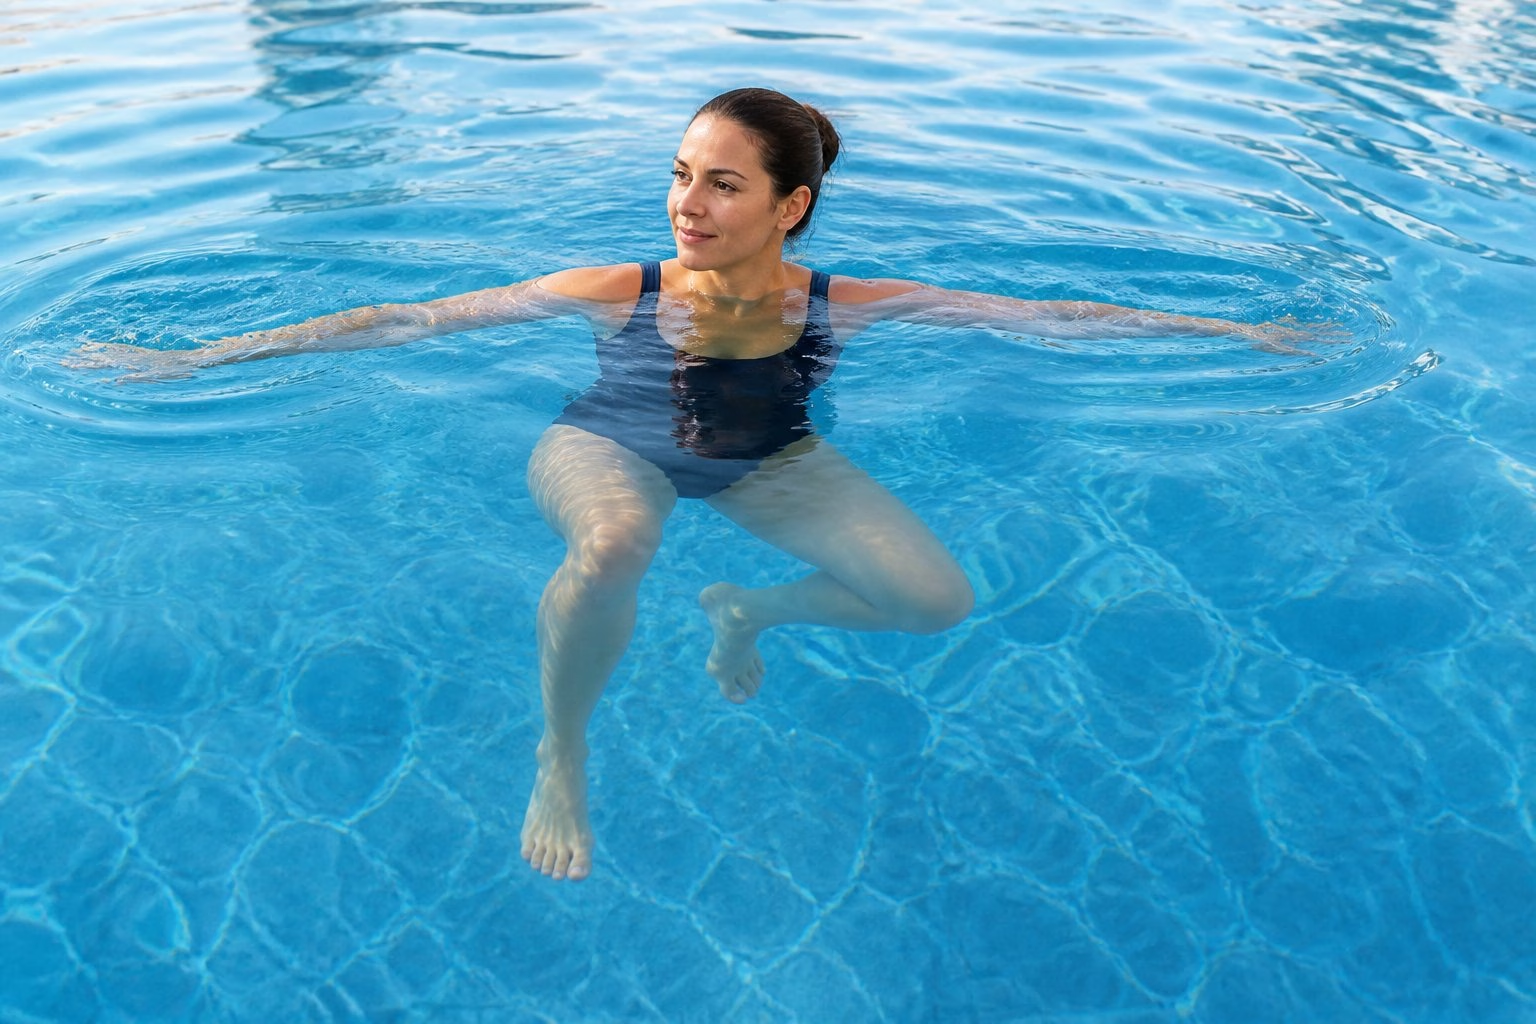
Before you learn any kick, you need to trust the water. That means finding out how your body floats and learning to breathe steadily while your face is close to the surface.
Understand Why Your Body Can Float
Your lungs are essentially two air bags in your chest. Full lungs make you more buoyant, which is why holding a small amount of air changes how high you sit.
Try a simple float test in chest-deep water near the wall. Take a breath, lean forward, let your arms and legs hang, and count to ten. Some people bob at the surface, others hover just below it. Both are fine.
As swimming coaches point out, feeling your true buoyancy in shallow water first makes deep water far less intimidating. If you sink slightly, technique matters more than natural float, so do not let it put you off.
Start With Supported Vertical Practice
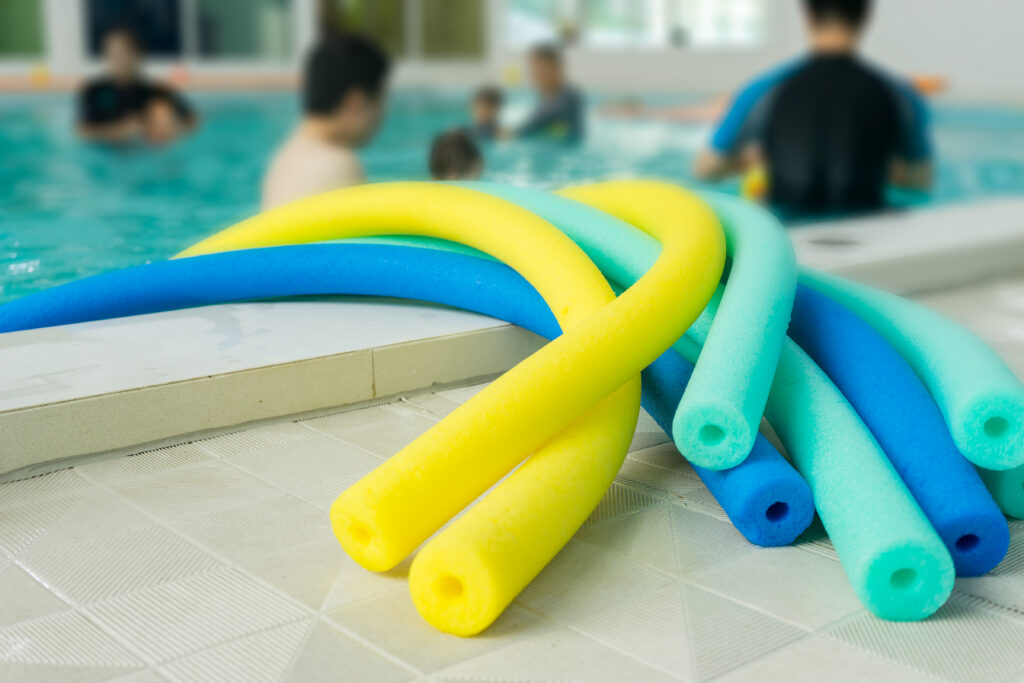
Stand in shoulder-deep water and lift your feet off the bottom for two seconds, then five, then ten. Keep one hand near the wall or a pool noodle under your arms at first.
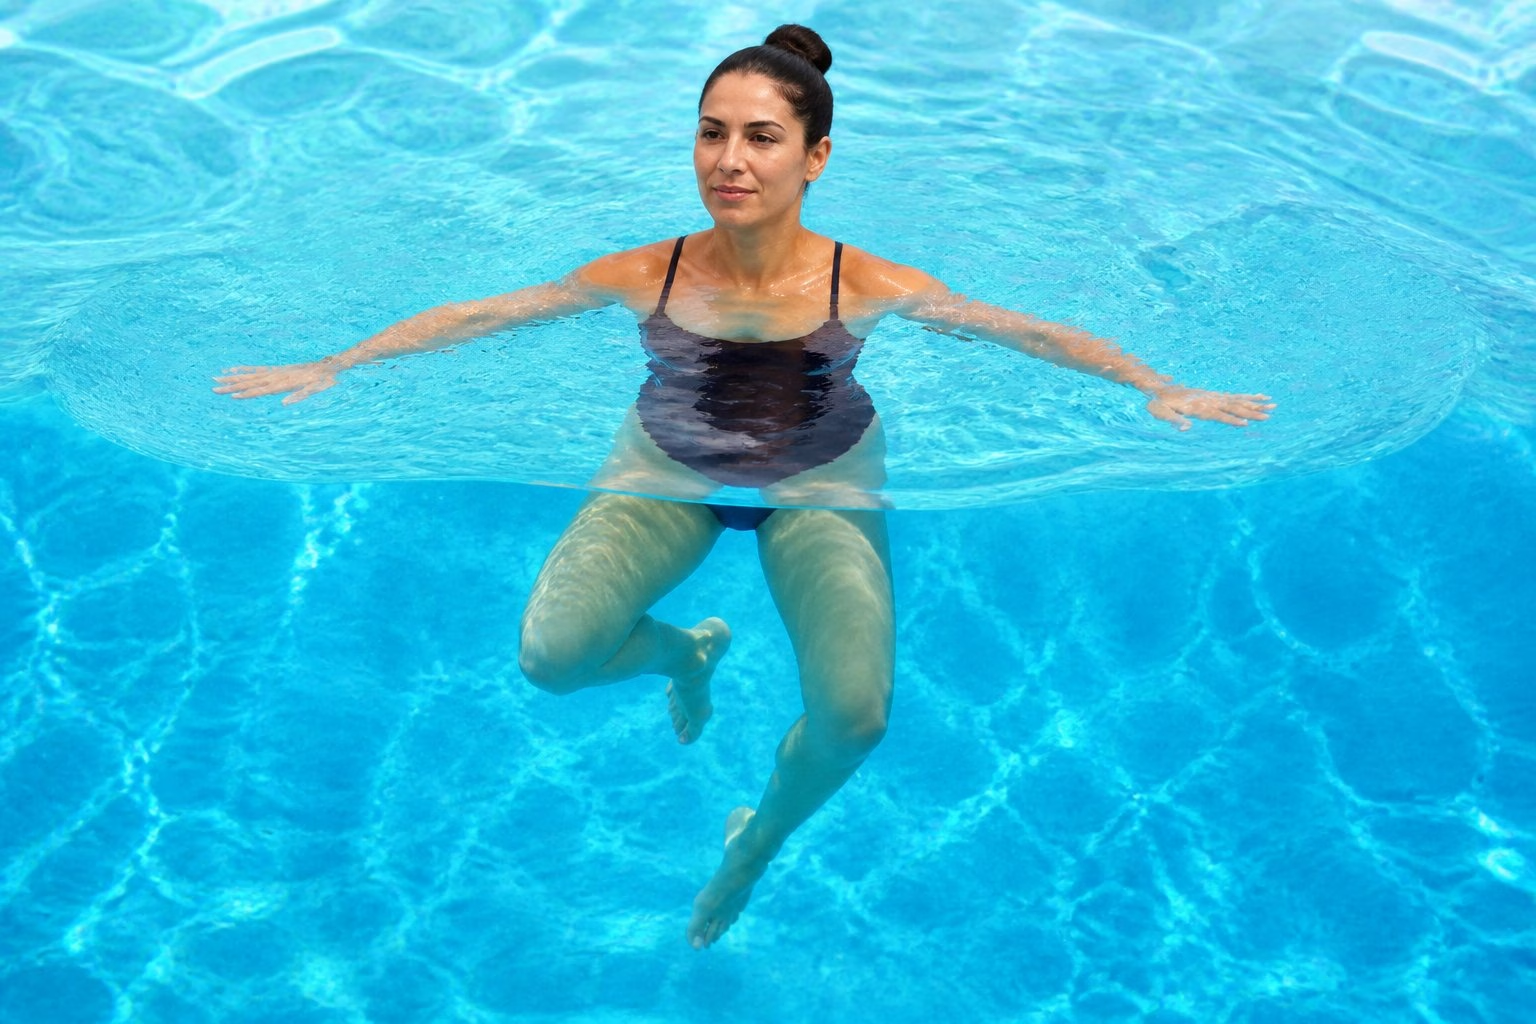
Your body position should be upright with a slight lean back, roughly 10 to 15 degrees, so your face stays clear of the surface.
Use a Steady Breathing Technique Instead of Holding Your Breath
Holding your breath tightens your chest and shoulders, and tension makes you sink faster. Breathe in through your mouth when you rise, then let a slow, controlled breath out as you settle.
A useful cue: breathe as though you are sighing at the end of a long day. Slow out-breaths keep your heart rate down and stop panic from building.
Step 2: Use Sculling to Support Your Upper Body
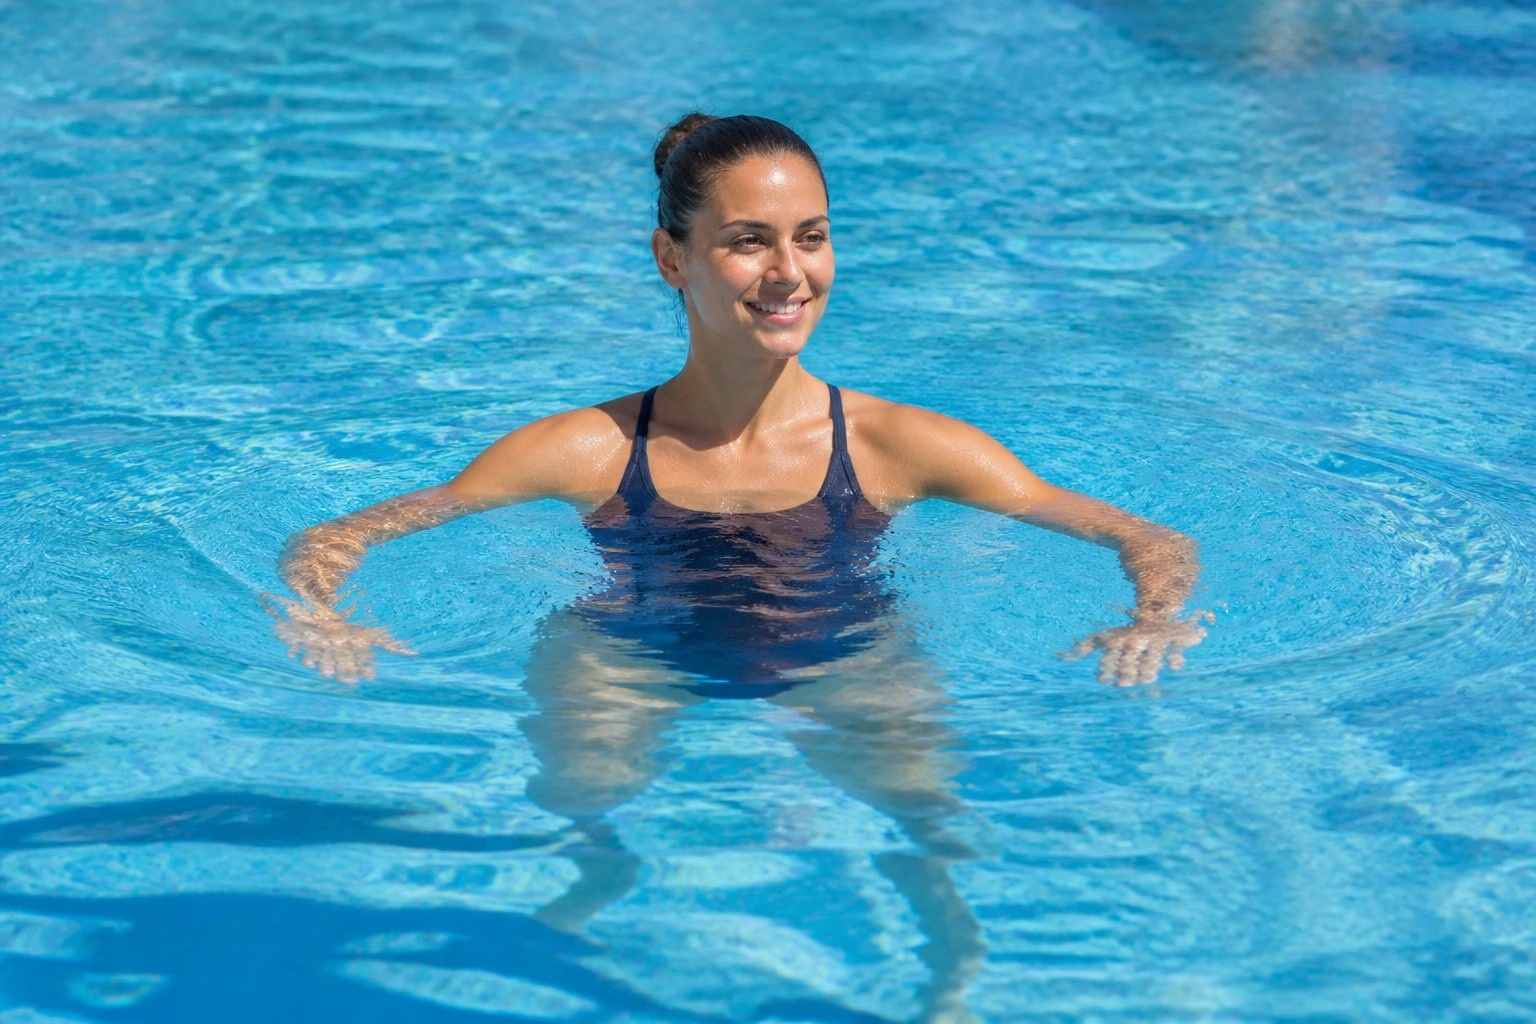
Sculling is the quiet engine of treading water. Small horizontal sweeps of your hands create constant upward pressure, and once it clicks, your legs have far less work to do.
Set Your Hands and Elbows Just Below the Surface
Bring your elbows out to the sides at roughly shoulder height, bent so your forearms sit flat under the water. Keep your hands about 15 to 30 cm below the surface, palms angled slightly down.
If your hands break the surface, you lose all pressure. Keep them submerged the whole time.
Feel the Water With a Gentle Sculling Action
The classic cue is spreading butter on toast with both hands. Sweep out and in, wrists leading, palms tilted so they push water down and slightly away.
- Out sweep: thumbs tilt down, hands travel away from your chest
- In sweep: thumbs tilt up, hands travel back towards your chest
- Rhythm: continuous figure-of-eight, never stopping between sweeps
The sculling technique used for water safety is the same one lifesavers rely on, which tells you how effective it is when done properly.
Avoid Large, Frantic Arm Sweeps
Big splashy arm movements feel productive and do almost nothing. Water that is already moving away from your hand gives you no support.
Slow down. Pressing steadily against still water gives more lift than slapping fast at churned water, and it costs a fraction of the energy. If your shoulders burn after 20 seconds, your arm movements are too big.
Step 3: Choose the Right Leg Action
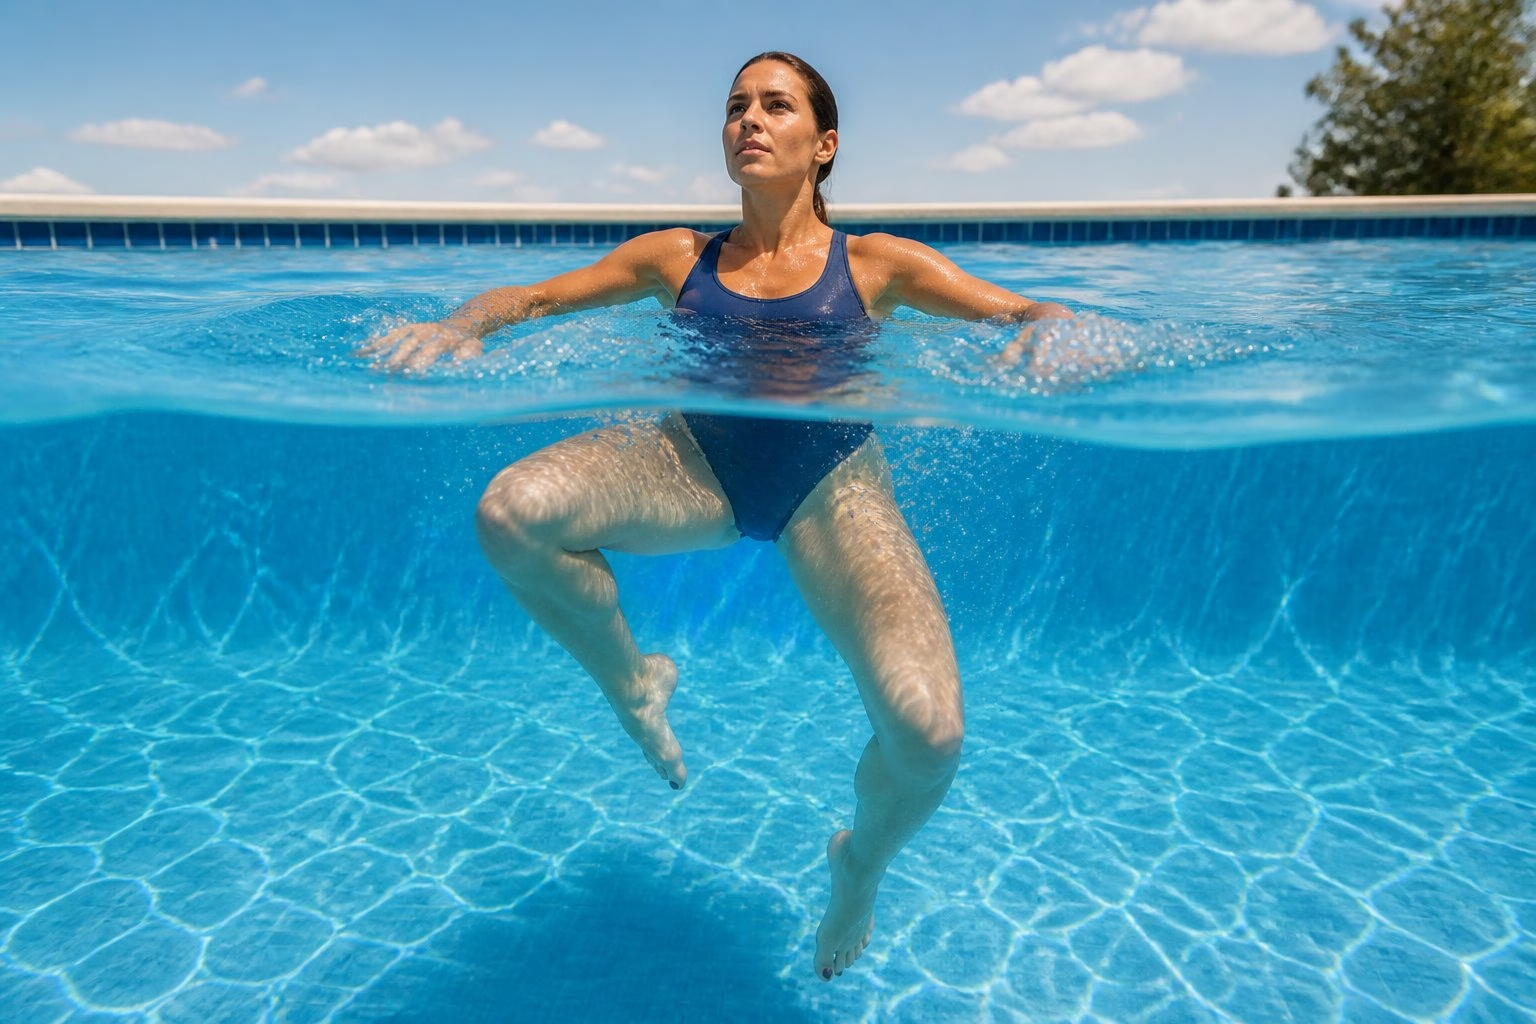
Your legs do most of the lifting. There are three main leg movements to choose from, and they suit different stages of learning, from an instinctive flutter kick to the eggbeater kick used in water polo.
Flutter Kick: A Simple Starting Option
The vertical flutter kick is the easiest place to start because it feels like front crawl legs turned upright. Kick from the hips with soft knees, small and fast, roughly 30 to 45 cm of movement.
It tires you out quicker than the alternatives, but for the first few sessions it does the job.
Frog Kick: A Powerful Breaststroke-Style Choice
The frog kick, or breaststroke kick, gives a big lift with each stroke. Draw your heels up, turn your toes out, then sweep your legs around and squeeze them together.
The catch is the glide phase. You rise on the kick and sink slightly between kicks, so you bob. Many adults find it the most restful option because they can pause between kicks.
Eggbeater Kick: The Most Efficient Long-Term Technique
The eggbeater is an alternating breaststroke kick, one leg circling clockwise while the other circles anticlockwise. Because one leg is always pushing, there is no dead spot and no bobbing.
| Kick | Ease to learn | Energy cost | Stability |
|---|---|---|---|
| Flutter | Easy | High | Moderate |
| Frog | Moderate | Moderate | Bobs up and down |
| Eggbeater | Hard | Low | Excellent |
Practise it sitting on the poolside first, dangling your legs and circling them in opposite directions. It feels awkward for a week and then suddenly makes sense.
Build Towards Vertical Flutter Kick and No-Hands Control
Once your kick supports you, try treading water without arms for ten seconds, hands folded across your chest. Then raise both hands clear of the water.
No-hands treading builds real leg strength and proves your technique is working. Dolphin kick is another option, though it demands strong core control.
Step 4: Coordinate Your Movements and Stay Relaxed
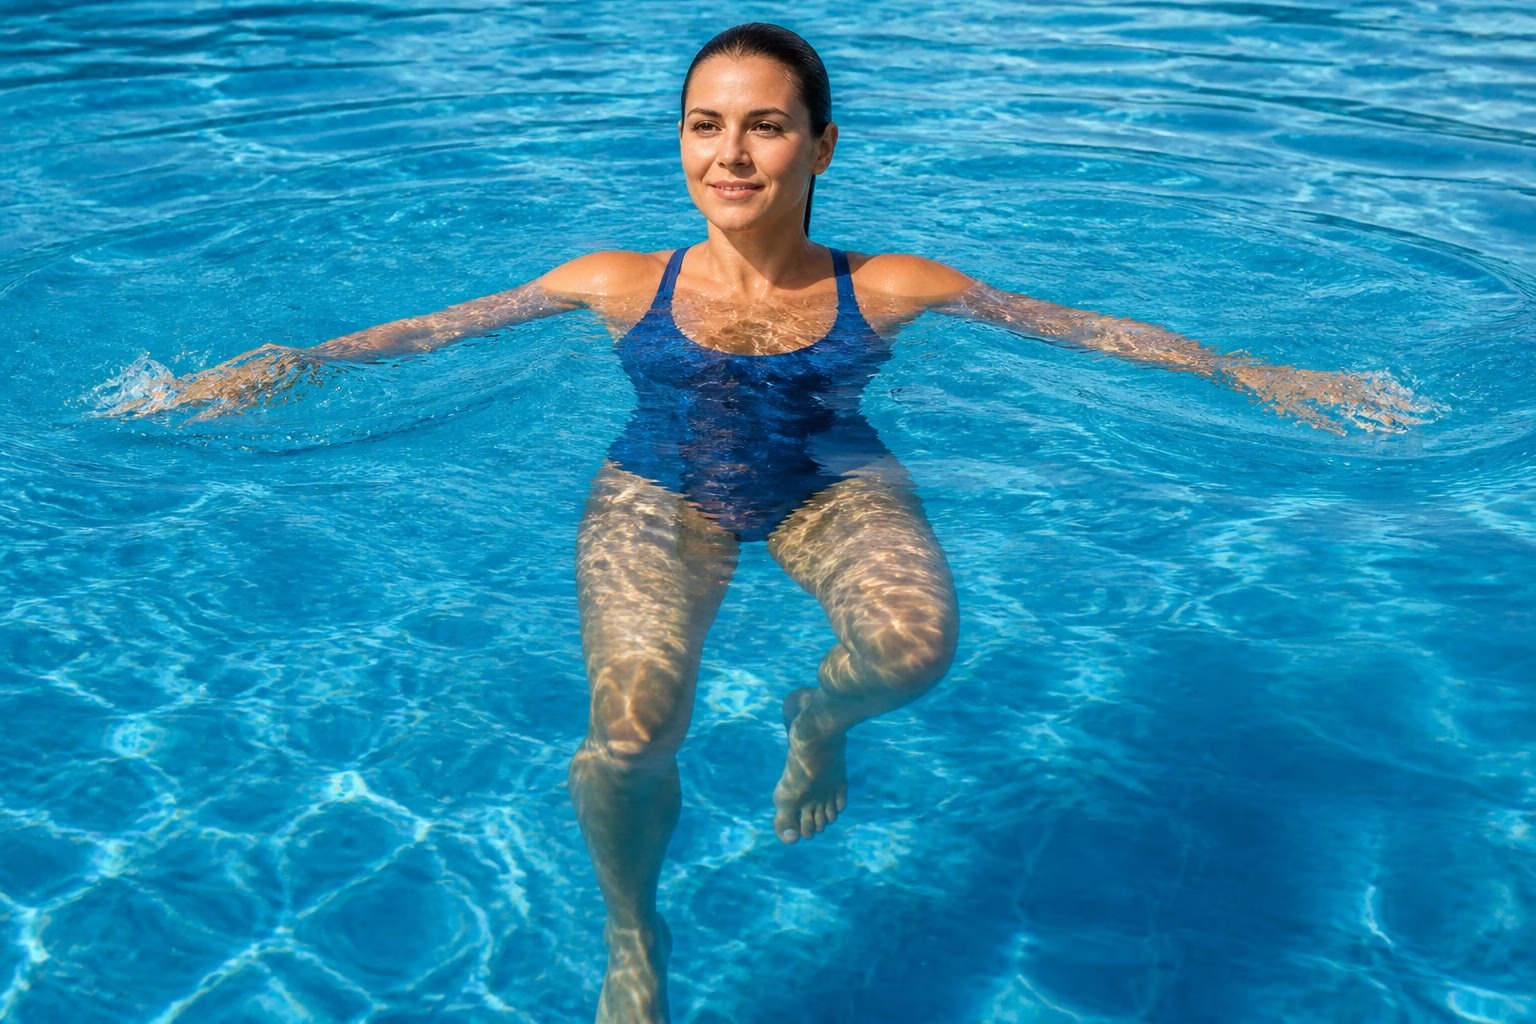
Now you combine the parts. Good treading water looks almost lazy from the surface, with the effort hidden underneath in small, steady arm and leg movements.
Find a Balanced, Slightly Leaned-Back Position
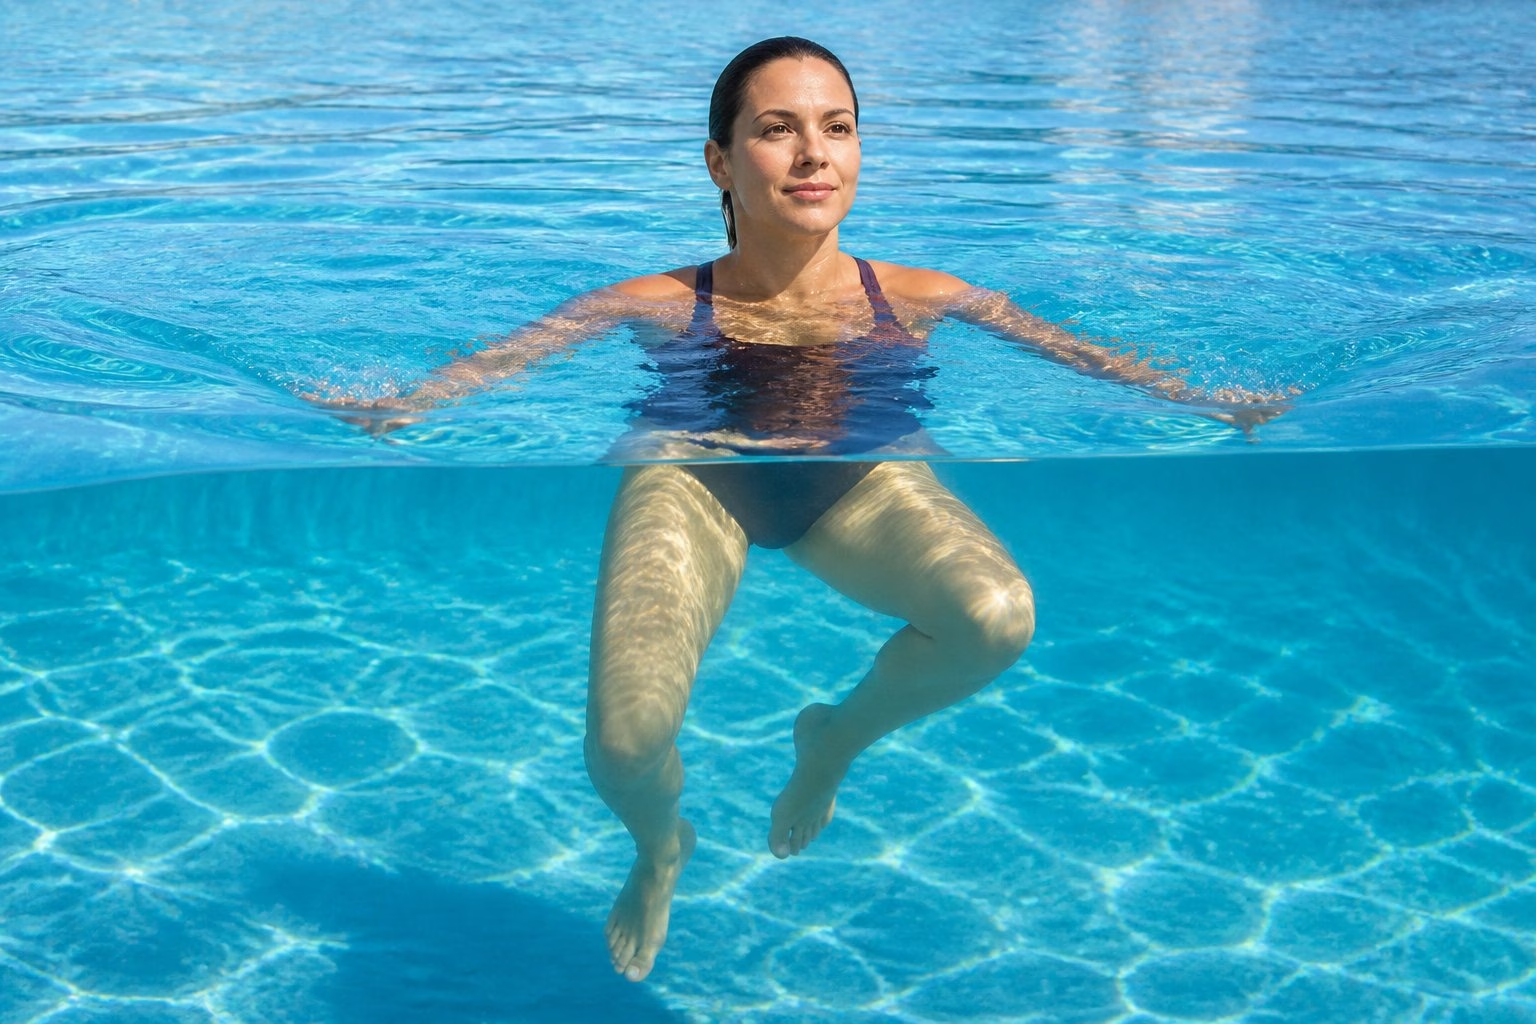
Sit in the water rather than standing in it. Tilt back a touch, keep your chin level and your ears near the waterline, and let your shoulders drop.
Looking up at the ceiling strains your neck and pushes your hips down. Eyes forward is the sweet spot.
Match Small Arm Sweeps With a Continuous Kick
Your arms and legs work independently, not in time with each other. Keep the sculling constant while the kick ticks over underneath.
A useful drill: scull only for 15 seconds, kick only for 15 seconds, then blend both for 30. The blended version should feel easier than either half.
Dog paddle is a close cousin of this, and it works in a pinch, but the hands come too high and you drift forward. Treading keeps you in one spot with less effort.
Progress From Short Holds to Confident Deep-End Practice
Build up in stages rather than jumping straight to the deep end:
- 10 seconds in shoulder-deep water, hand near the wall
- 30 seconds an arm’s length from the wall
- 60 seconds in the deep end with a friend or coach watching
- 2 to 3 minutes while chatting or turning to look around
Talking while you tread is a brilliant test. If you can hold a conversation, your swimming technique is efficient enough for treading water without getting tired.
Common Mistakes, Safe Practice and Progression
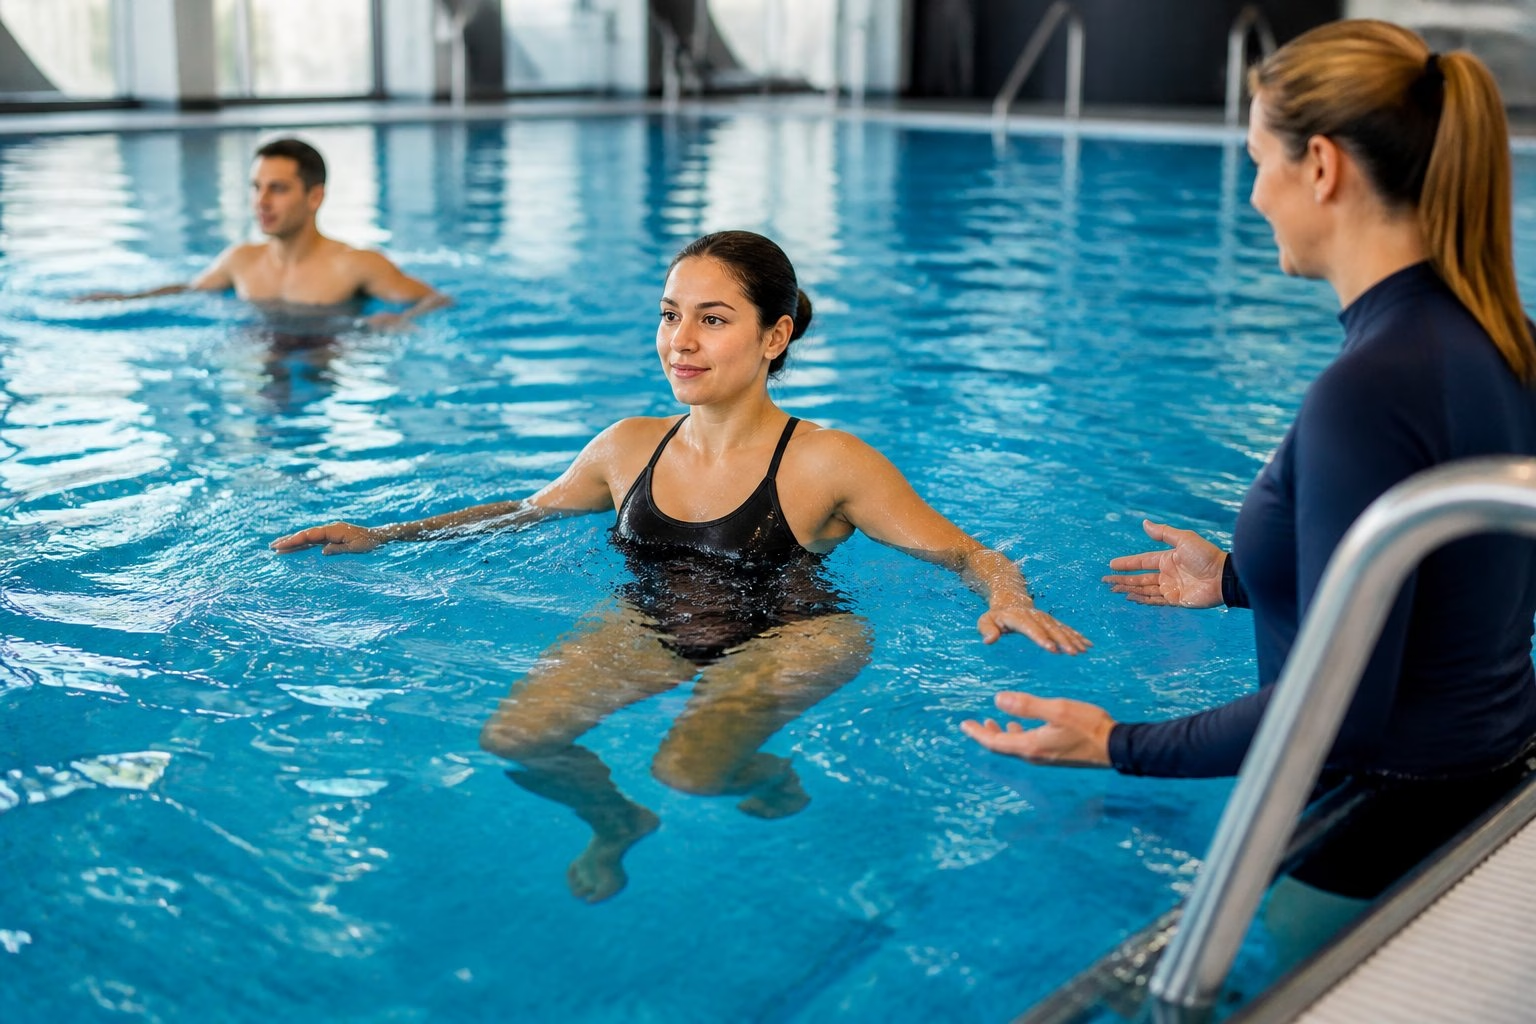
Most problems come down to three habits: fighting the water, lifting the head too high, and practising alone in water that is too deep too soon. Each one has a simple fix.
Stop Fighting the Water When You Feel Unsteady
When you feel yourself sinking, the instinct is to speed everything up. That almost always makes it worse, because fast, wild movements churn the water and give you nothing to press against.
Do the opposite. Slow your hands, breathe out long, and let your body settle for a second. Panic and stiffness are what tire swimmers out, not the deep water itself.
Keep Your Head Comfortable Rather Than Held Too High
Trying to keep your shoulders and chin high out of the water is exhausting. Every centimetre you lift costs energy you cannot spare.
Let the waterline sit around your ears or chin. Your mouth needs to be clear, nothing more.
Practise With Appropriate Supervision and Support
Never practise treading water alone in deep water. Use a lifeguarded pool, take a friend, or book a session with a swim coach who teaches adults.
Flotation devices earn their place while you learn. A pool noodle under the arms, a woggle, or a buoyancy aid lets you rehearse the leg action without worrying about sinking, and you can strip the support away gradually.
Know When to Swim, Float, Signal or Exit the Water
Treading is not always the right answer. If you are cold, tired or a long way out, roll onto your back and float, which uses far less energy than staying upright.
Keep this order in mind: float to calm down, signal if you need help, then swim to the nearest safe exit. In open water, a life jacket or tow float is a sensible habit rather than an admission of weakness.
Frequently Asked Questions
Is it difficult to learn to tread water?
Most adults pick up a workable version within two or three pool sessions. The physical movements are simple, and the harder part is staying relaxed in deep water. Progress usually comes faster once you stop trying to muscle your way up.
How can a beginner learn to tread water safely?
Start in shoulder-deep water beside the wall, where you can stand up any time. Practise with a pool noodle or a friend nearby, and only move to the deep end once you can hold your position for 30 seconds comfortably. A lifeguarded pool is essential.
How can I tread water without getting tired?
Make your movements smaller and slower, not bigger and faster. Keep your hands submerged for constant sculling pressure, breathe out steadily rather than holding your breath, and let the waterline sit near your chin instead of your shoulders. Efficiency beats effort every time.
How do I tread water without using my hands?
Fold your arms across your chest and rely on a strong eggbeater or frog kick. Start with five to ten seconds, then build up, and keep your body upright with a slight backward lean. It is a great way to test whether your leg technique is genuinely working.
What is the most efficient kick for staying afloat?
The eggbeater kick, used by water polo players and lifeguards, is the most efficient because one leg is always pushing down, so you never sink between kicks. It takes the longest to learn. Flutter kick is the easiest starting point and frog kick sits in between.
How long should you be able to tread water for?
Two minutes is a solid practical target for most recreational swimmers, and many swim school assessments in the UK use around 30 seconds to one minute. Open water swimmers and triathletes benefit from being able to hold it for five minutes or more without stress.