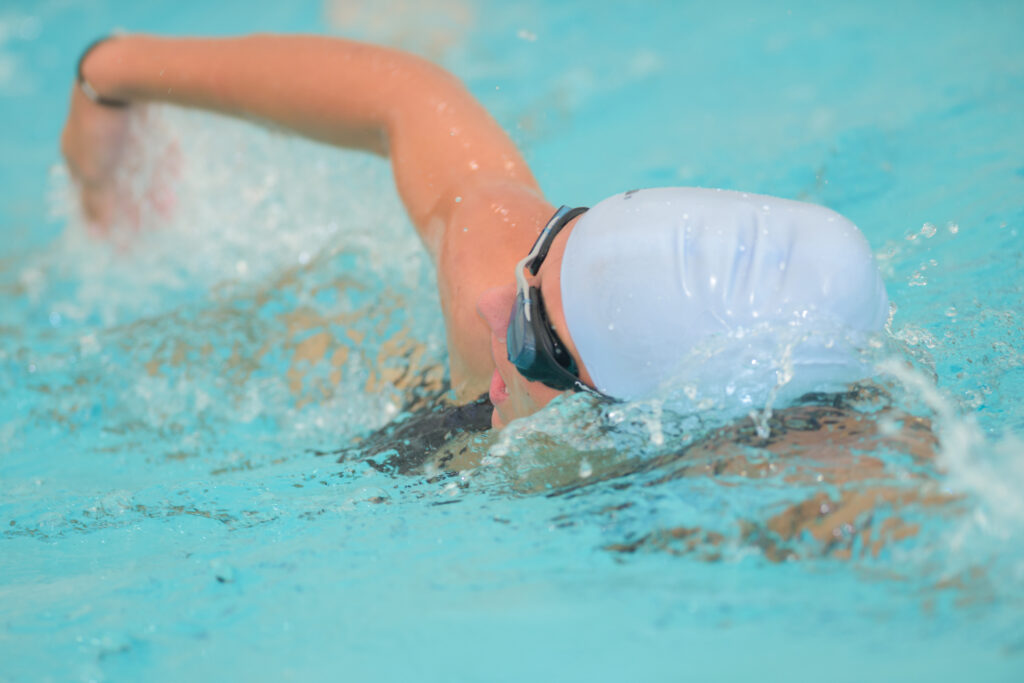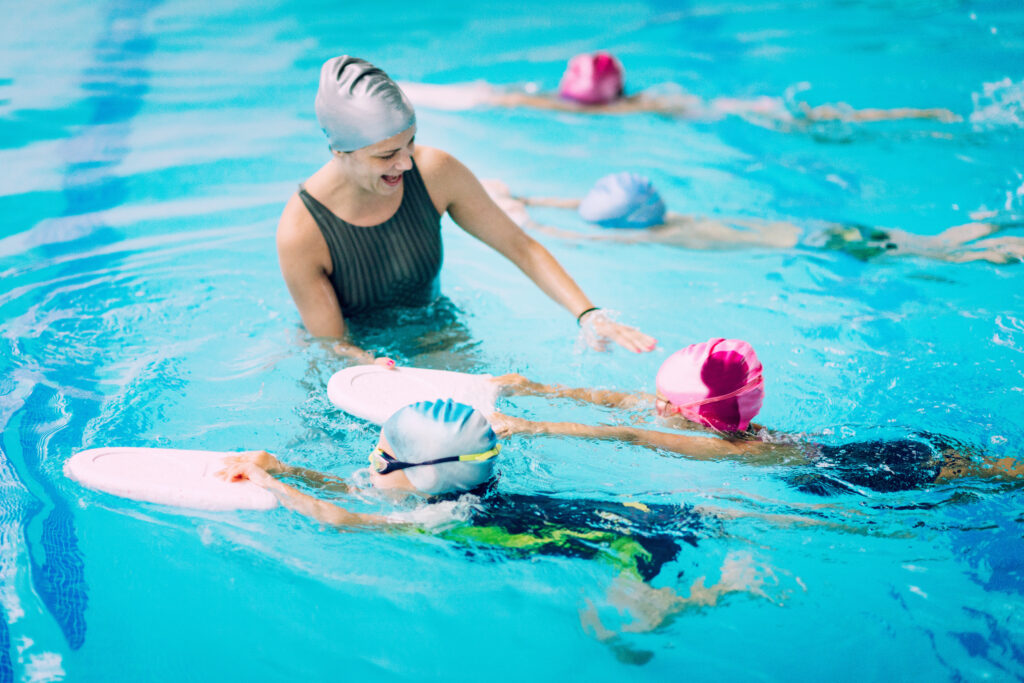
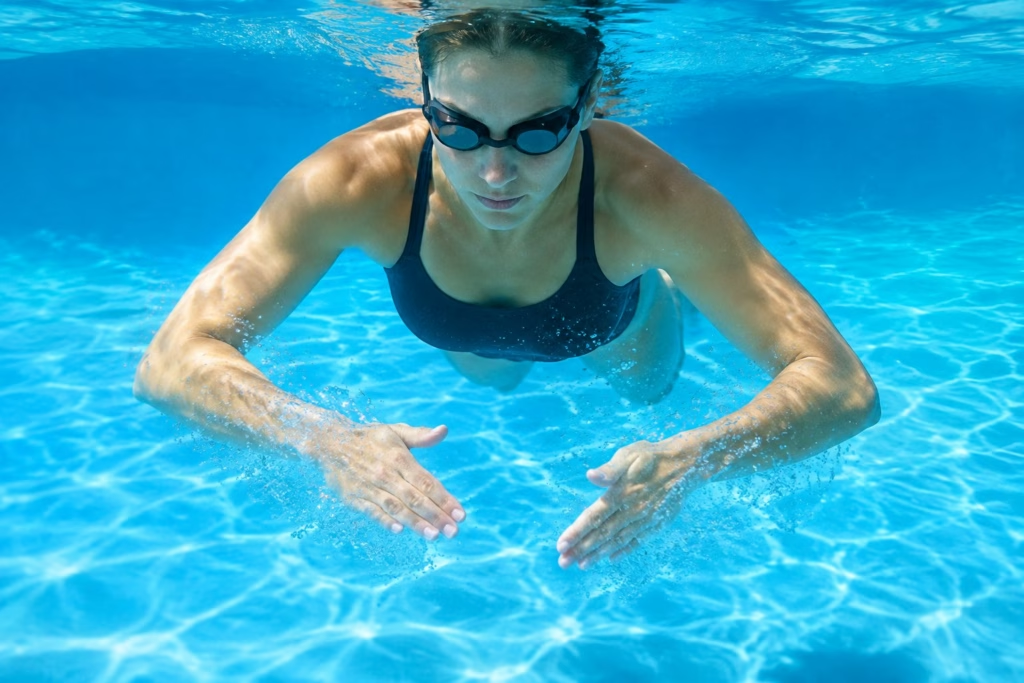
Sculling is the small, controlled sweep of your hands and forearms that lets you feel, hold and push against the water without taking a full stroke. Sculling in swimming teaches you to keep steady pressure on your palms and forearms, which gives you a stronger catch and better propulsion in every stroke. You won’t race it, but almost every good pull starts with it.
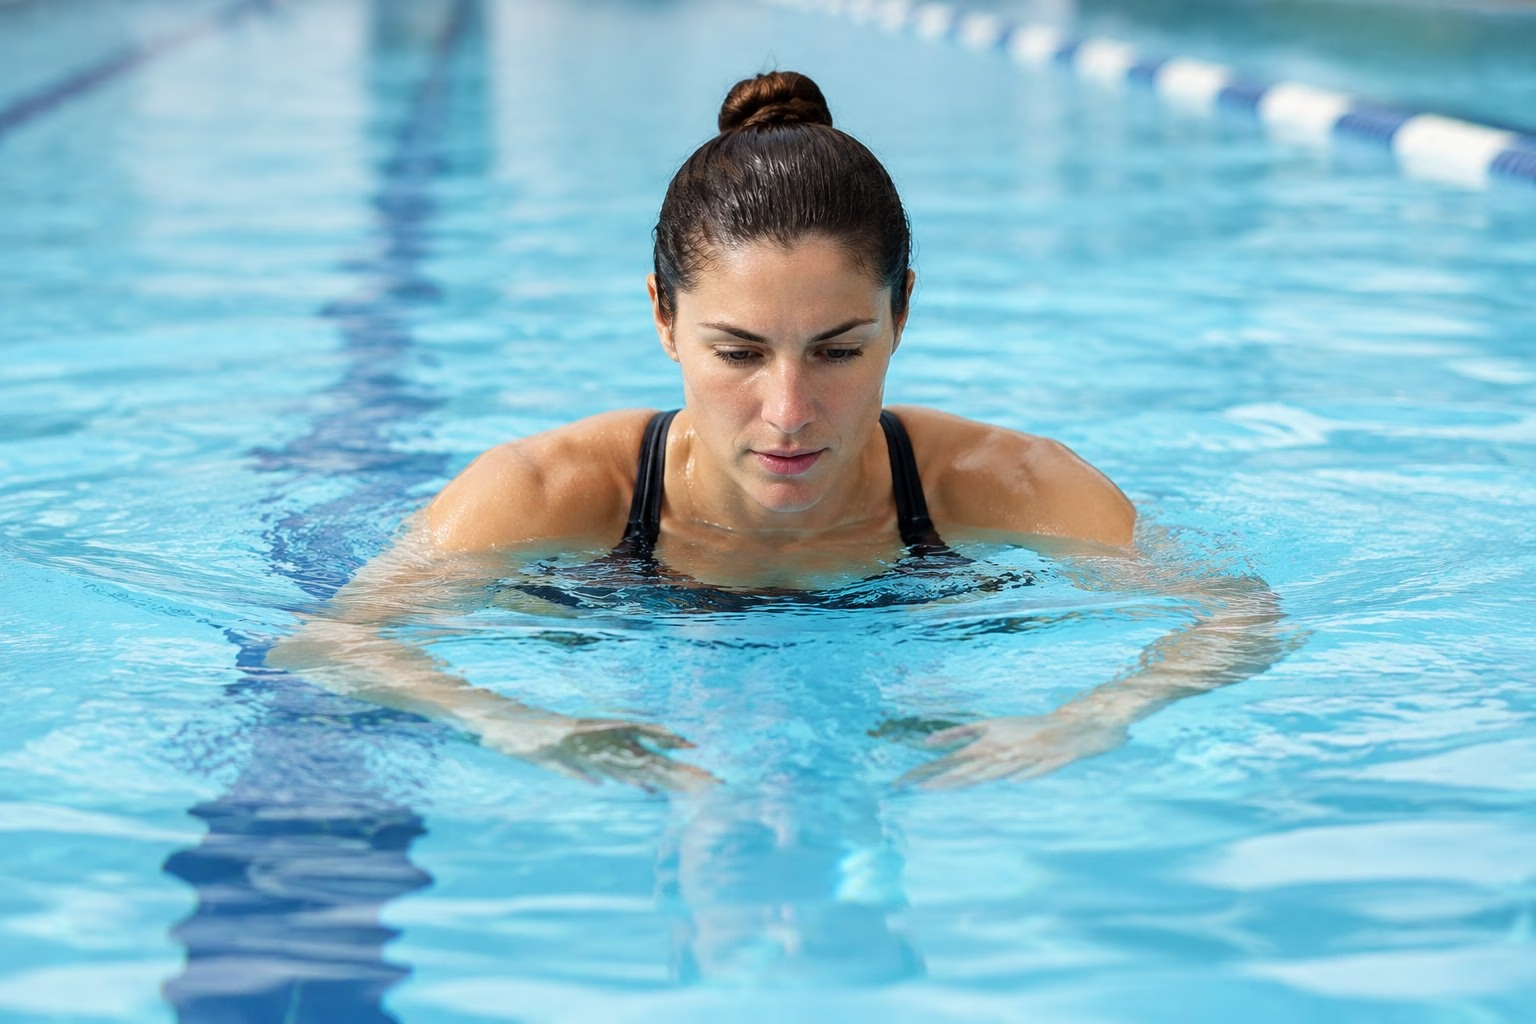
Coaches use sculling to fix slipping hands, dropped elbows and rushed catches. These faults are hard to spot at full speed, but they show up fast when you slow down. In UK Learn to Swim programmes, sculling also counts as a safety skill, because it helps you stay afloat and keep your face clear of the water.
If you want a stroke that feels like it grips the water, start with a few slow lengths of sculling at your next pool session. Pair them with the wider set of swimming drills you already use.
How Do You Scull in the Water?
You scull by sweeping your hands out and in while you change the angle of your palms, so pressure stays on them the whole time. Get the hand shape and pitch right first, then add a body position that lets your hands do the work.
What Are Your Hands and Forearms Trying to Feel?
Your hands are hunting for pressure. When you push water, pressure builds on your palm. On the back of your hand, lower pressure creates a light suction. That difference is what swimmers mean by “feel for the water”, and this explanation of hand pressure notes that the hands produce around 95% of upper body propulsion.
Your forearms matter too. Treat your hand and forearm as one paddle. When you hold the water well, it feels heavy and firm against your palm and inner arm. When you lose it, the water feels thin and your hands slide.
A simple test helps here. If your hands feel like they are moving through air, slow them down and tilt them a little more.
Step by Step: Hand Angle, Sweep and Pressure
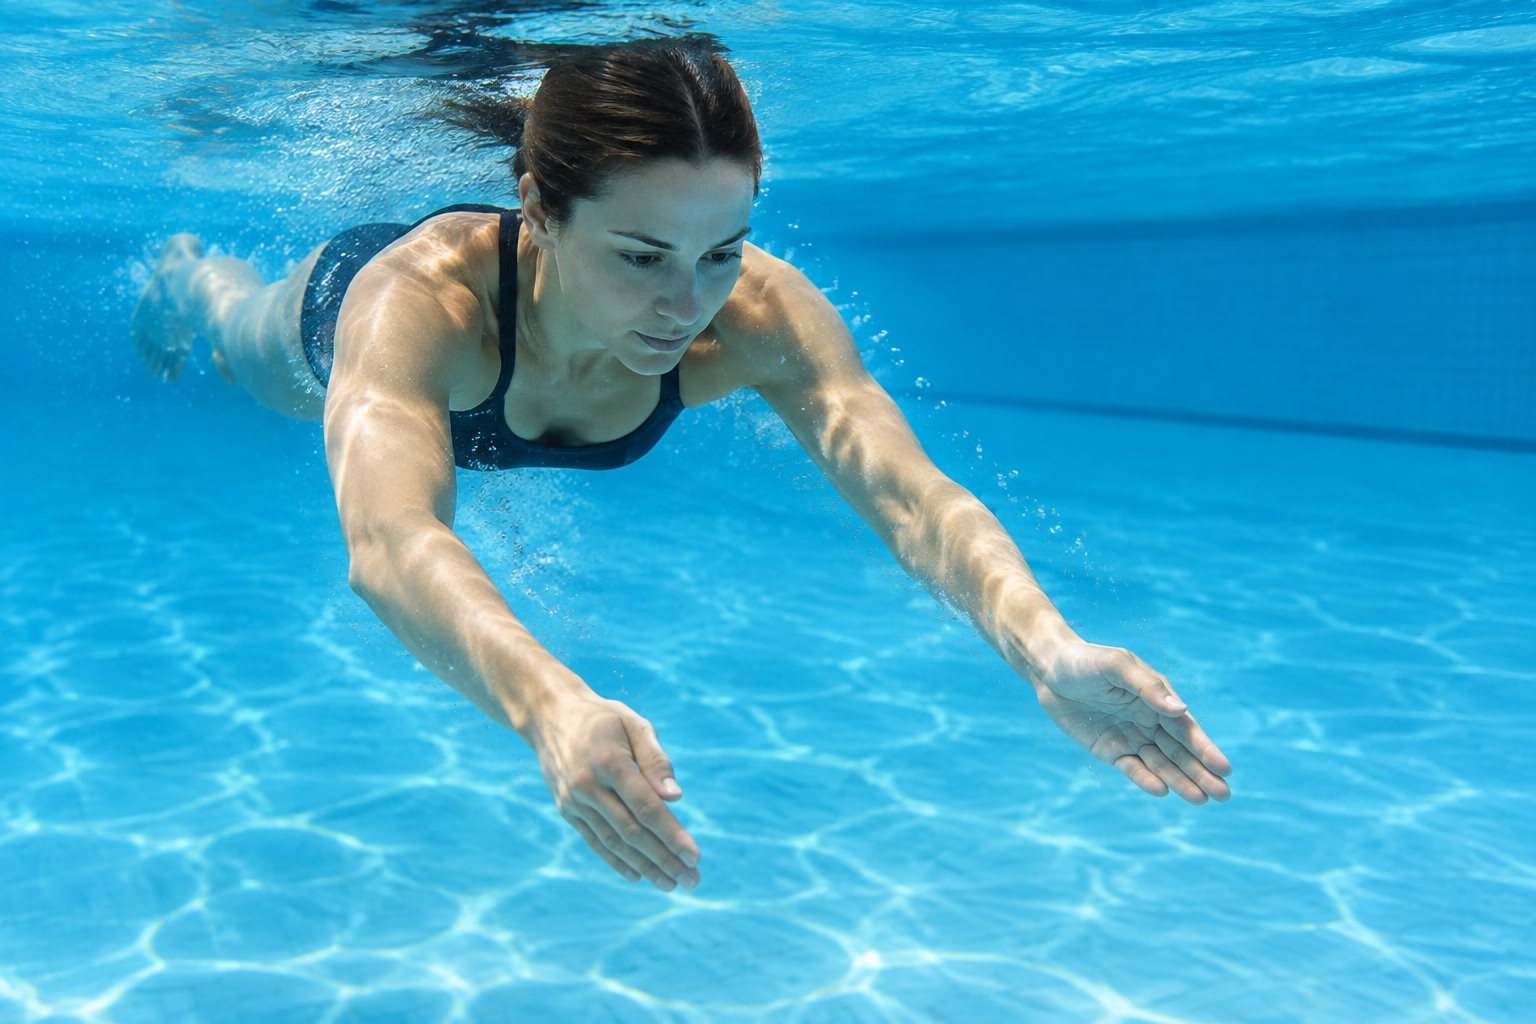
Start with the hand shape. Place your hands on your cheeks with your fingers very slightly apart. Then lift them away and keep that shape. You end up with a slightly cupped sculling handshape that grips well.
Then follow these steps:
- Set your arms. Stretch your arms out in front, elbows slightly bent, palms facing down.
- Sweep out. Move your hands apart with your thumbs tilted down, leading with your little finger.
- Sweep in. Turn your thumbs up and bring your hands back towards each other, leading with your thumbs.
- Keep it small. Your hands travel roughly shoulder-width or a bit wider. Your upper arms stay mostly still.
- Hold steady pressure. Aim for pressure that never drops at the turn between the out-sweep and the in-sweep.
- Tilt to travel. To move forward, tip your fingertips down slightly so your palms angle back towards your feet.
Many swimmers picture a figure-of-eight path, or spreading icing across a big cake. Start slowly. Add speed only once the pressure feels even.
How Should You Position Your Body and Legs?
Keep your body long and flat, as you would in front crawl or backstroke. A flat body cuts drag, so your small hand movements can move you.
Use a light flutter kick only for buoyancy. If your legs sink, a pull buoy between your thighs holds your hips up and lets your hands take the full load. Face-down, a centre-mounted snorkel lets you keep your head still and think only about your hands.
Look straight at the pool floor and keep your neck relaxed. If you feel your hips dropping as you tire, stop, reset and start the length again.
Which Sculling Drills Should You Try?
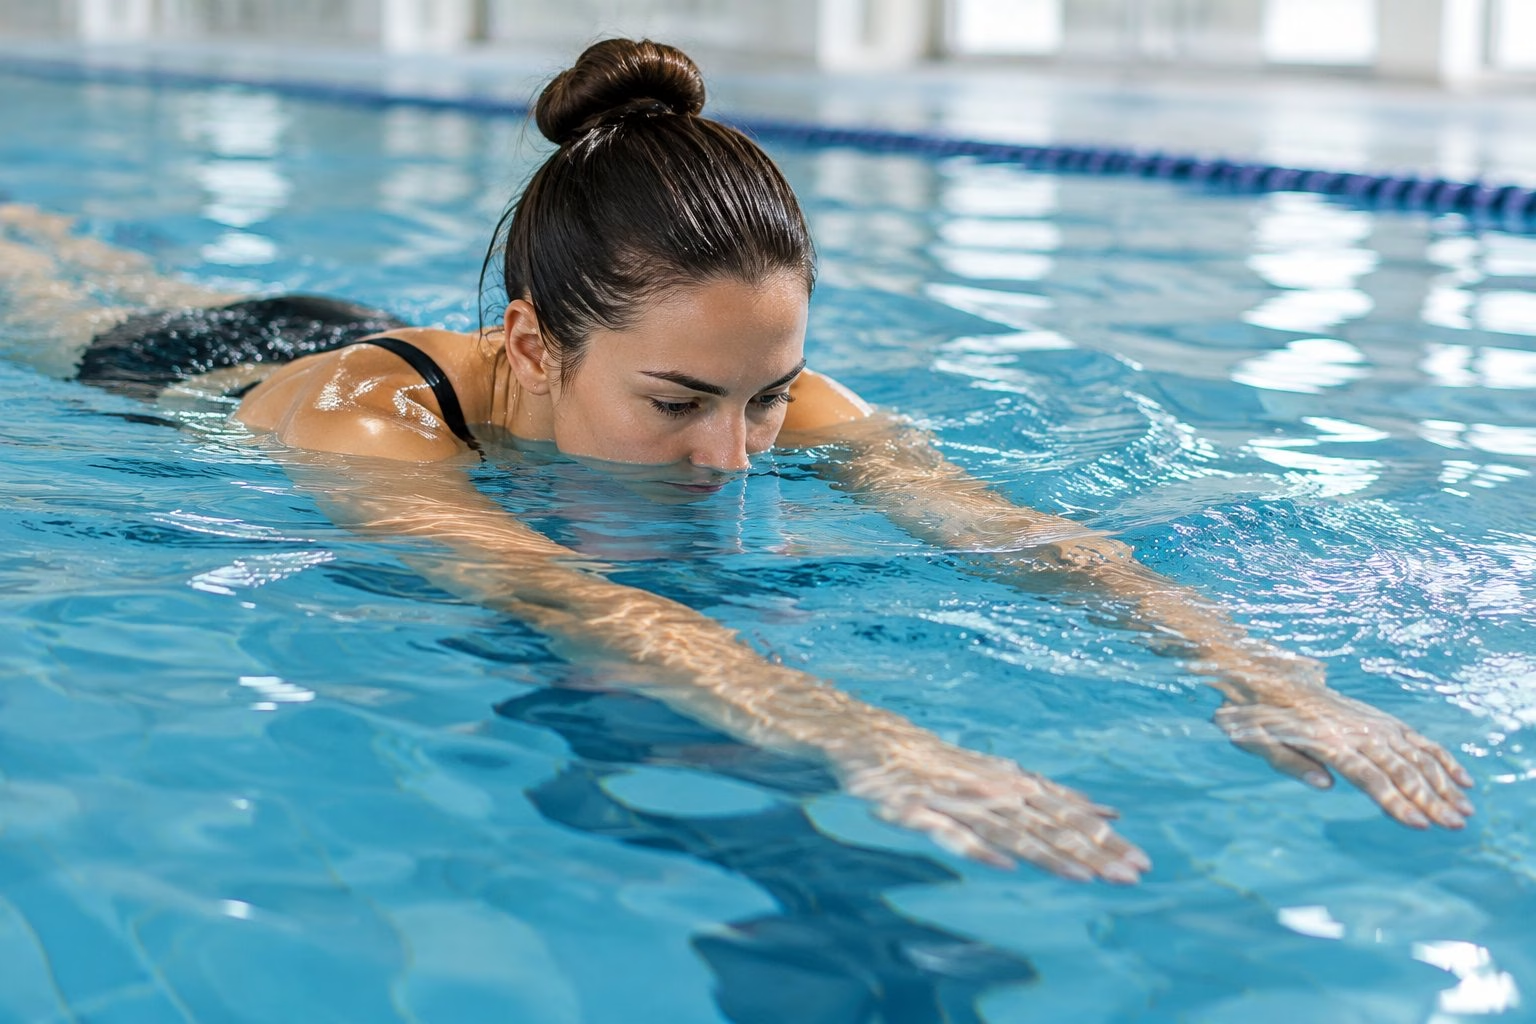
Build your drills around the parts of the stroke: the front, the middle and the finish, plus an upright scull for balance. Do each one for 25m at an easy pace, and swim a length of full stroke straight after so the feeling carries over.
Front Scull for the Catch
The front scull trains the catch phase, the moment your hand first grabs the water after it enters.
- Lie face-down with your arms stretched in front, just under the surface.
- Scull out and in with your hands slightly wider than your shoulders.
- Keep your elbows near the surface and your fingertips pointing a little down.
This drill builds the early vertical forearm, where your forearm tips down towards the pool floor while your elbow stays high. That high elbow catch is the base of a strong freestyle and butterfly pull. If your elbows sink, narrow the sweep and slow down.
Mid-Stroke Scull for Sustained Pressure
The mid-stroke scull keeps pressure steady through the main power phase of the pull.
- Lie face-down with your hands under your chest or shoulders.
- Bend your elbows to about 90 degrees, with your forearms pointing at the floor.
- Scull in a small sweep and press the water back towards your feet.
You will feel your chest and forearms working. Keep the movement in your hands and forearms. If your shoulders start rocking, you are pulling, so shrink the movement.
Hip-Level Scull for the Finish
The hip-level scull trains the push at the end of your stroke.
- Float on your back with your arms by your sides and your hands near your hips.
- Scull with a small, quick sweep and point your fingertips slightly up and out.
- To travel head-first, press water towards your feet. To travel feet-first, flip the angle so your palms face your head.
A pull buoy between your ankles keeps your legs high. Think “pressure back, not down”, and keep your hips at the surface. This drill also suits swimmers with sore shoulders, because your arms stay low and supported.
Vertical Scull for Balance
Vertical sculling keeps you upright with your head out of the water. It works like treading water, with more of the effort in your hands.
- Stay upright in deep water, with your arms out to the sides at about chest height and your elbows bent.
- Scull forward and back, turning your palms to push the water down each way.
- Add a gentle kick, or draw your knees up to make it harder.
Practise first in the shallow end with a noodle under your arms. Move to deep water only once you feel confident, and have someone watching if you are new to it. For leg technique that pairs well with this drill, see this guide on how to tread water.
How Does Sculling Improve Each Swimming Stroke?
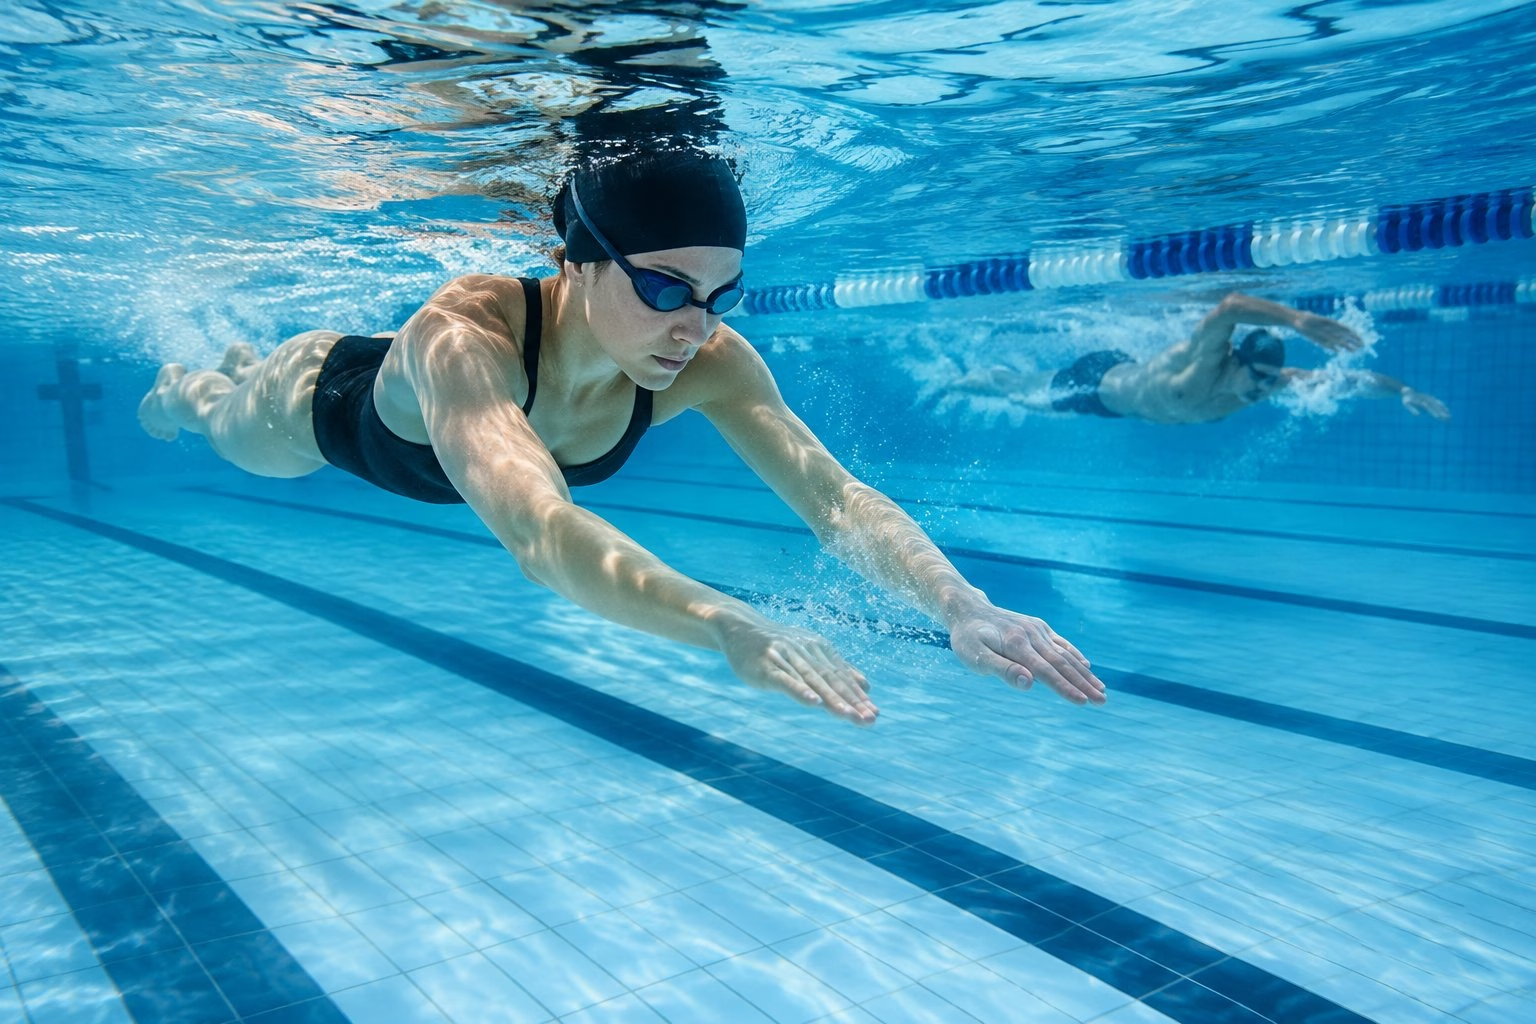
Sculling improves every stroke because each one depends on hands that hold water at the right angle. Freestyle gains a firmer catch, backstroke gets steadier pressure and breaststroke and butterfly get a cleaner out-sweep and in-sweep.
Freestyle: Finding a More Effective Catch
In freestyle, sculling shows up a dropped elbow or a flat palm at the front of the stroke. Front sculls teach you to set your forearm before you pull, so your body moves past your hand. A weak catch leaves your hand slipping straight back.
Try 2×25 front scull, then 50 easy freestyle. During the swim, aim to feel the same weight on your palm in the first part of each stroke. You can then build on this with the swimming catch up drill, which slows the front of the stroke even more.
Backstroke: Maintaining Pressure on Your Back
Backstroke swimmers often lose pressure because they cannot see their hands. Sculling on your back trains you to feel the water by touch alone. Hip-level and head-first back sculls strengthen the push at the end of each stroke.
Keep your head still and your hips high, just as in full backstroke. More body position tips are in this guide to improving backstroke technique.
Breaststroke and Butterfly: Applying Feel Through the Pull
The breaststroke pull is close to a front scull. Your hands sweep out, catch, then sweep in under your chest. Front and mid sculls teach you to keep your pull short and your elbows high, so you don’t haul your arms back past your shoulders.
Butterfly uses the same keyhole-shaped path as both arms pull together. Mid-stroke sculling helps you hold water under your body while your hips drive. In competitive swimming, many coaches place short scull sets before stroke work, so you start the main set with a sharper feel for the water.
What Common Mistakes Should You Fix?
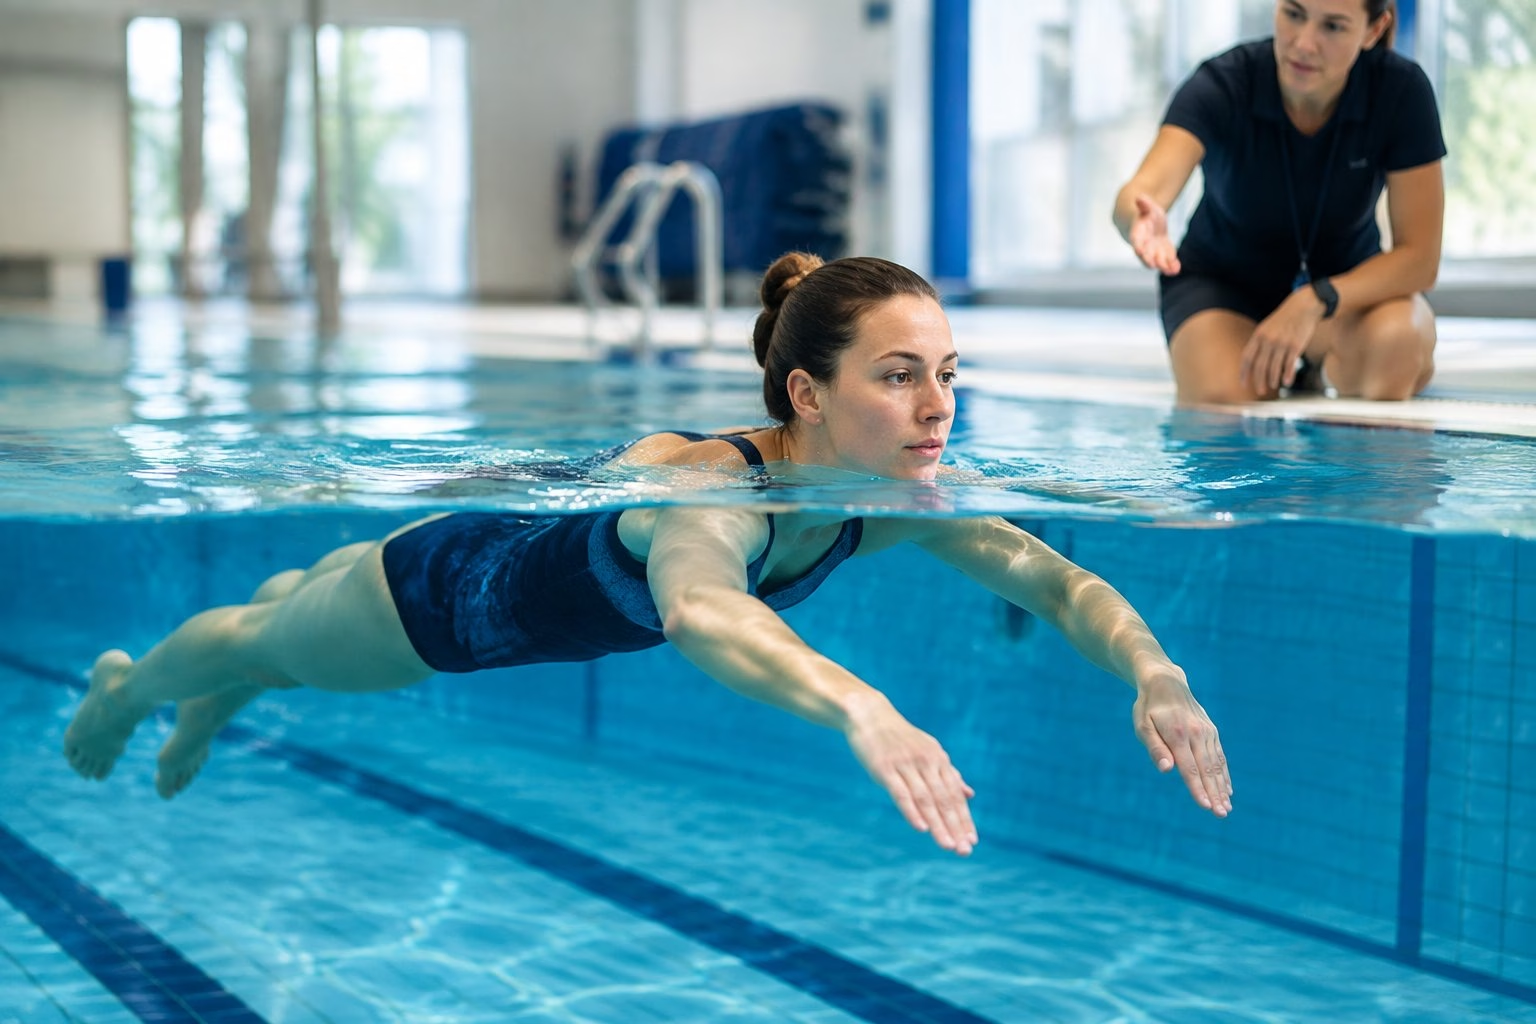
Most sculling problems come from moving too much or kicking too hard. Both take the focus away from your hands. Once you fix those two, the right kit and smart set planning help the skill stick.
Sweeping Too Widely or Pulling Instead of Sculling
A wide sweep turns into a small breaststroke pull. Your arms take over and you stop feeling your hands. Keep your upper arms almost still and limit the sweep to about shoulder width.
Watch for these signs:
- Your shoulders rock from side to side.
- Your elbows drop and your hands move in circles.
- You lurch forward in surges, with no smooth glide.
If you spot any of them, slow down until the pressure on your palms stays even through each change of direction.
Letting the Kick Hide Weak Hand Pressure
A strong kick moves you forward even when your hands are slipping. That feels like progress, but it hides the real problem. Keep the kick light, just enough to hold your legs up.
To test yourself, stop kicking for a few seconds. If you stop moving straight away, your hands are not doing enough. Adjust your hand angle until you creep forward again.
Using a Pull Buoy and Adding Sculls to a Swim Set
A pull buoy is the easiest fix for sinking legs and heavy kicking. It keeps your hips up and leaves your hands to do all the work. You can find tips on fit and placement in this guide to pull buoy swimming.
Put sculling where you are fresh enough to focus:
| Where in the session | What to try | Why it helps |
|---|---|---|
| Warm-up | 4×25 front scull | Primes your feel before harder work |
| Before stroke work | 2×25 scull + 50 swim | Links the feeling to full stroke |
| Mid-session reset | 2×25 mid scull | Fixes sloppy technique when you tire |
| Cool-down | 100 easy back scull | Low effort, calm breathing |
For more ideas on how to start a session, see this swimming warm up guide.
Build Better Strokes by Feeling the Water
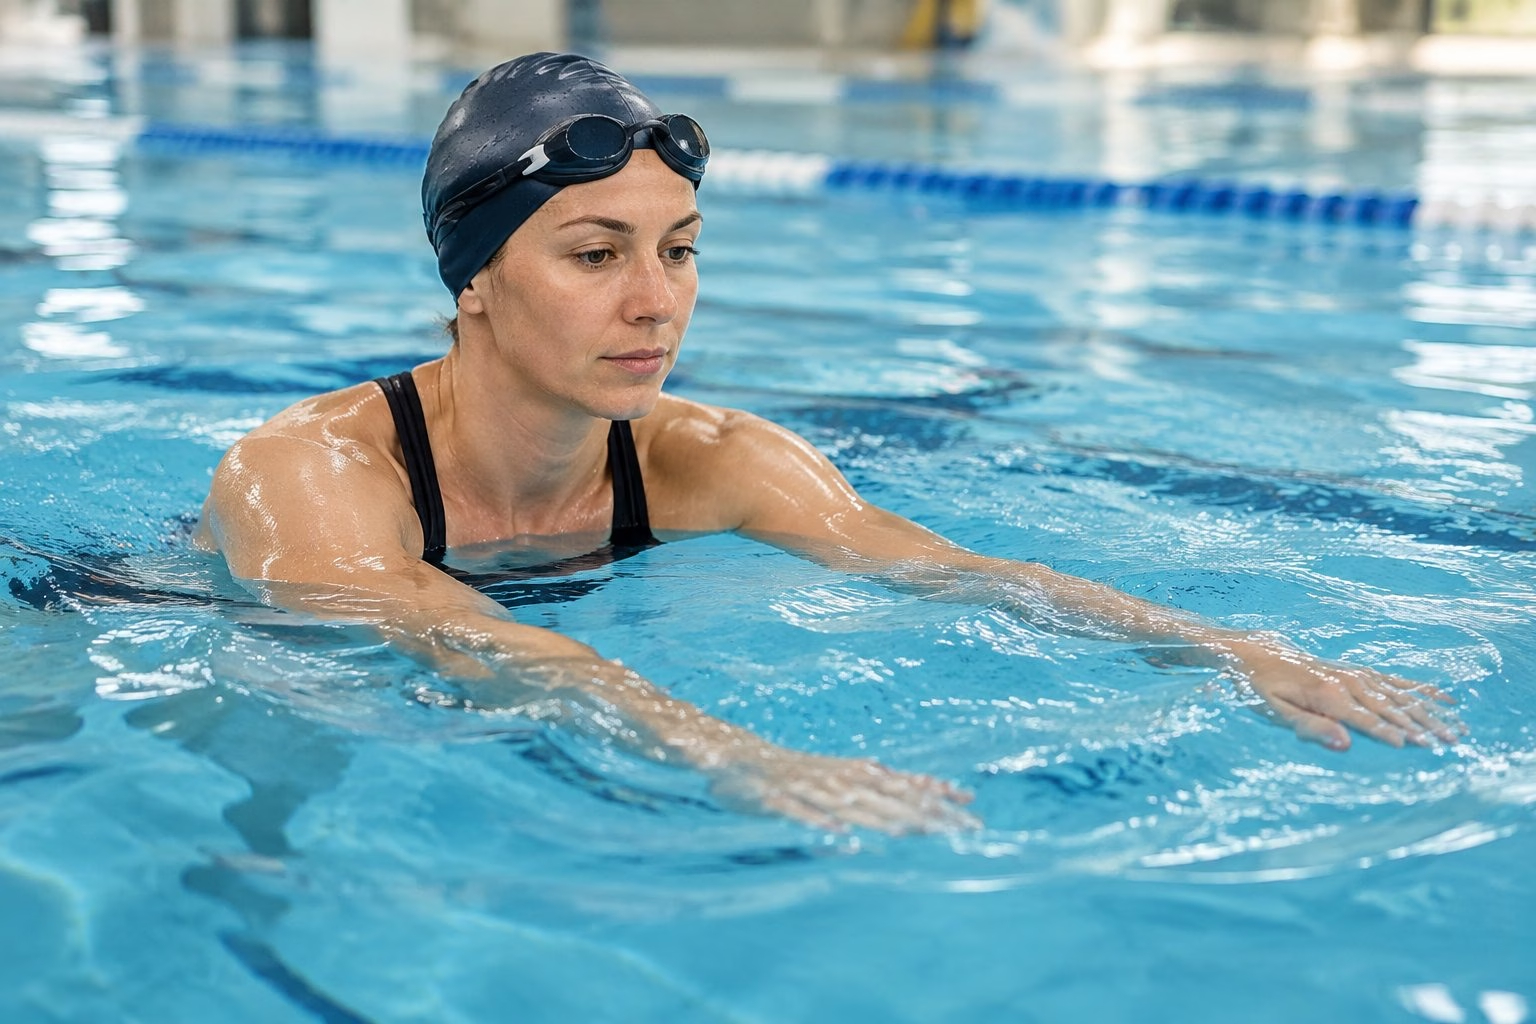
Sculling trains your hands and forearms to find pressure and keep it, and that skill feeds into every stroke you swim. Start with the cupped hand shape, small out-and-in sweeps and a flat body with a light kick.
Then work through the drills by stroke phase:
- Front scull for the catch
- Mid-stroke scull for steady pressure
- Hip-level scull for the finish
- Vertical scull for balance
Watch for wide, pulling sweeps and a kick that does the work for you. Use a pull buoy when your legs drop.
Next session, swim 4×25 of front scull in your warm-up, each followed by 25 easy freestyle. Notice whether your catch feels heavier than before.
Frequently Asked Questions
Can beginners learn to scull?
Yes, beginners can learn to scull, and many swim schools teach it early. Start in shallow water with a noodle or a float on your back, then move on to head-first and feet-first sculls. Simple drills for beginners fit well alongside it.
Is sculling the same as treading water?
No. Treading water combines hand sculling with a leg action such as a flutter or egg-beater kick to keep you upright. Sculling is the hand skill itself, and you can do it lying flat, on your back or upright.
Can you practise sculling on your back?
Yes, back sculling is one of the easiest places to start. Float with your arms by your hips and scull to travel head-first or feet-first. It also helps backstroke and is gentle on sore shoulders.
Is sculling suitable for children?
Yes. Sculling is part of the Learn to Swim stages in the UK, with games such as Sculling Train used to build buoyancy and water safety. Children should always practise with a teacher or lifeguard nearby.
How often should you practise sculling drills?
Add a short scull set of 100 to 200m to most of your sessions. Small, regular doses work better than one long sculling session a week. Keep the pace slow so every length stays focused on your hands.